As I amassed the hoard of plastic that will become my Blood Angels army, I learned about decals. Most of what I knew about them was that as a kid, I tore, mangled, and misapplied them at basically every turn.
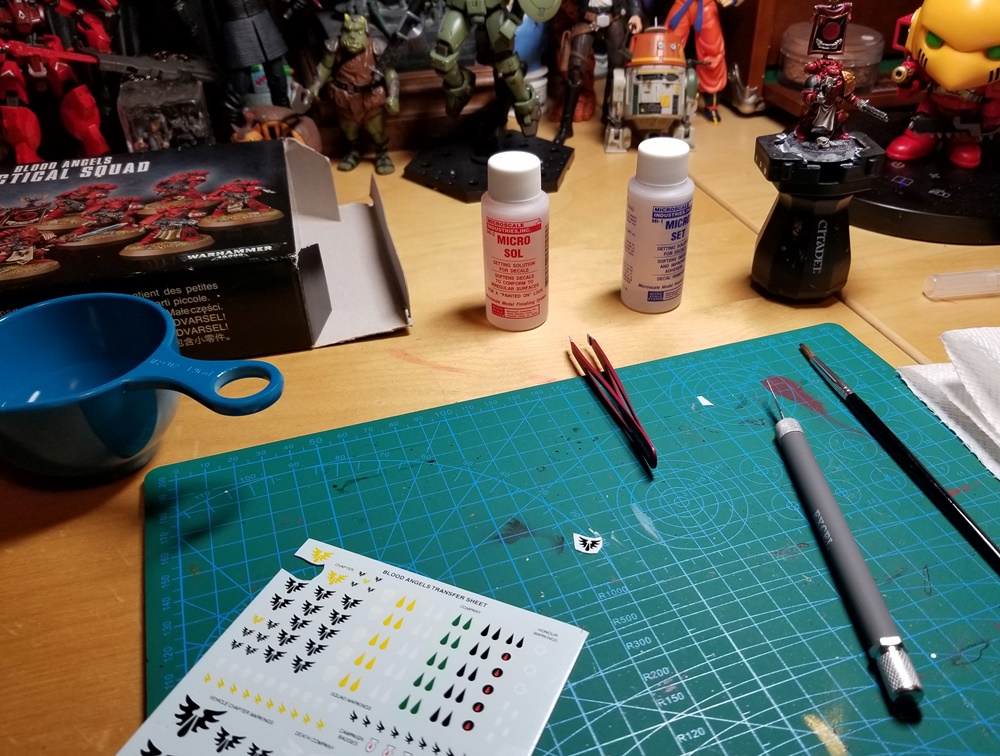
My research led me to Micro Set and Micro Sol (paid link), the twin weapons in the modeler’s arsenal for putting tiny decals on tiny figures — and especially on curved or irregular surfaces. They’re both decal softeners; softer decals become more fragile, but also better able to conform to curves and whatnot.

I watched three YouTube videos about putting on decals, and browsed a few posts, and the funny thing is that people don’t really seem to agree on how to do it. Take the videos:
- One person scored the decals with a hobby knife and uses only Micro Set, and never touched the decal with anything but a brush or that knife
- One used like 8 million layers of Micro Sol; the process appeared to take an hour or two with lots of drying time between coats
- One used both Set and Sol, and a Q-tip, and did the whole thing in one coat of each and like two minutes
All of their decals looked great when they were done.
And the posts? Gloss varnish before and after; no, only after; no, gloss before and matte varnish after; only after turning three times widdershins and never under the light of a full moon . . . you get the idea.
The little near-identical bottles themselves also make things a bit confusing: Sol recommends starting with Set and then using Sol; Set says to use only Set unless you really need Sol. But Sol is for irregular surfaces, which sounded like my use case — so I just followed the directions on the Micro Sol bottle.

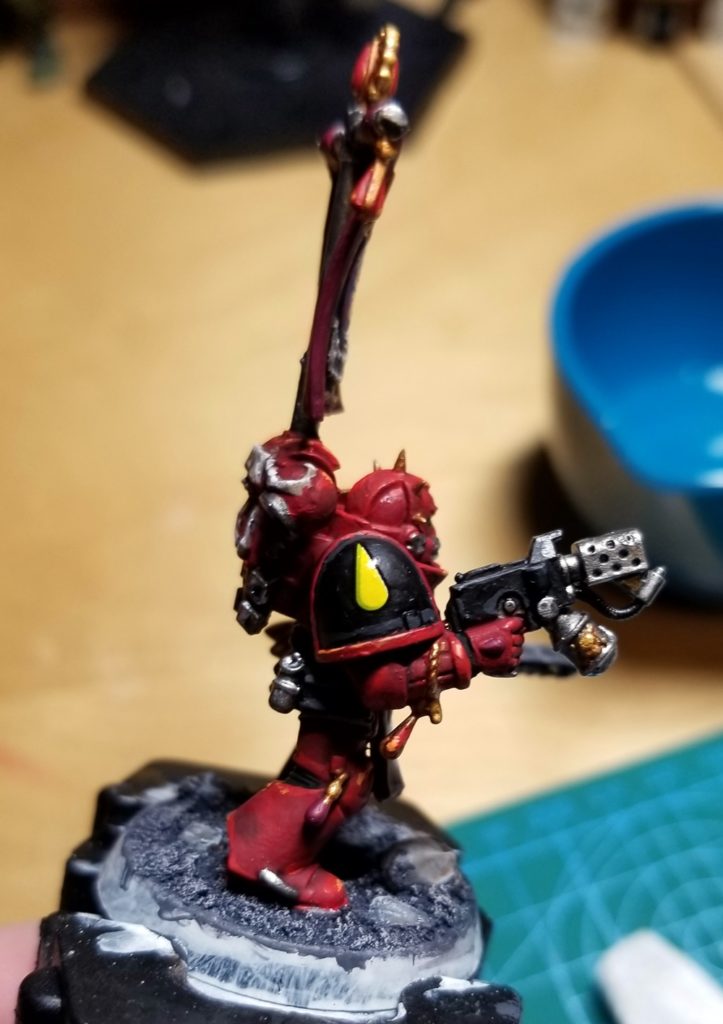
I went with Second Company for my first squad because I like the pop of yellow and — for some reason — the decals for Second Company seem to be the most common.
And there’s another peculiarity: GW seems to have largely gone away from decals that aren’t for Ultramarines. The only Blood Angels transfer sets I have came out of my Dreadnoughts — even this kit, an explicitly Blood Angels tactical squad, doesn’t have a sheet of transfers in it. When those run out, I’ll be relying on Ebay.
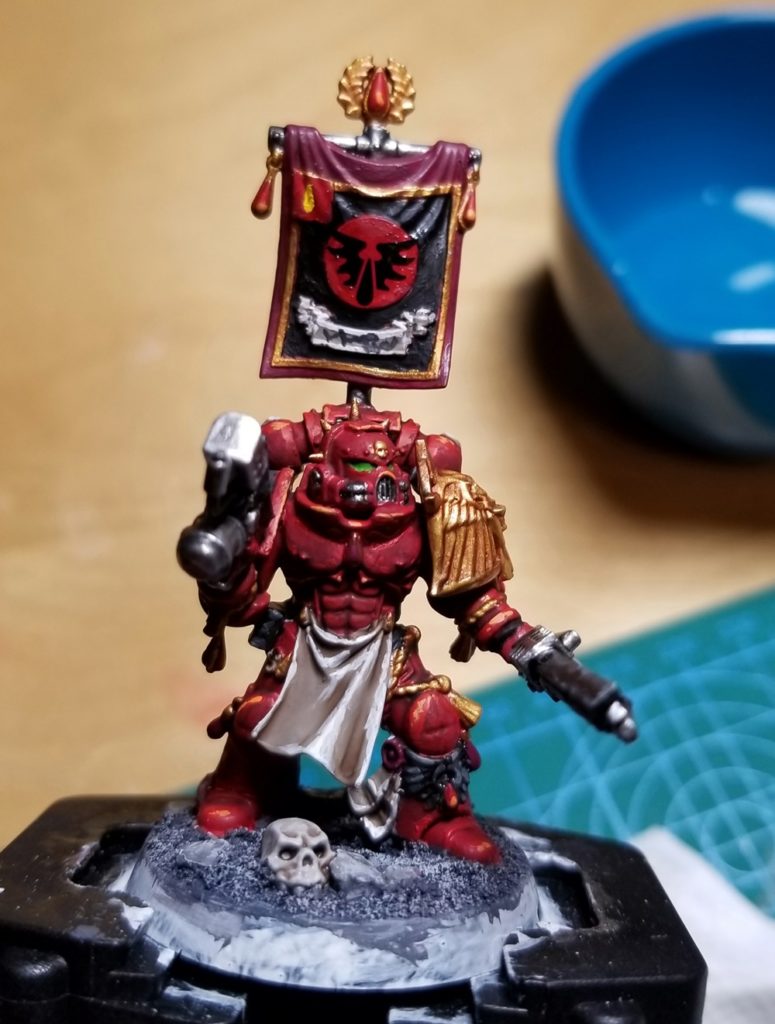
Anyhoo, next came the banner.

The Micro Sol bottle says to let it dry and see how they turn out, and then apply more Sol as needed (with drying time between coats); as needed, prick any bubbles that form. With a reasonably smooth coat of primer and paint these two decals both seemed to have gone on okay, but I could see a couple little spots where they hadn’t settled down perfectly. So I hit those spots with some more Sol, then let them dry again.
When all’s said and done, I’ll varnish over the decals when I seal the whole mini. These weren’t hard to do at all — huzzah!
