This is my 400th post on Yore! I considered prepping something specific for the big 400, but decided that this post was more on-brand: it’s about miniatures, it involves some trial and error, and it’s a work-in-progress post full of photos. That’s where my head’s at these days, so it works pretty well for this milestone. Thanks for reading Yore, and here’s to the next 400!
Assault Bike bases
Because of how low the undercarriage is on the Assault Bike models, I changed up my basing approach for Squad Ariete. It worked pretty well, but I definitely learned some things I can roll into my next set of bikes.
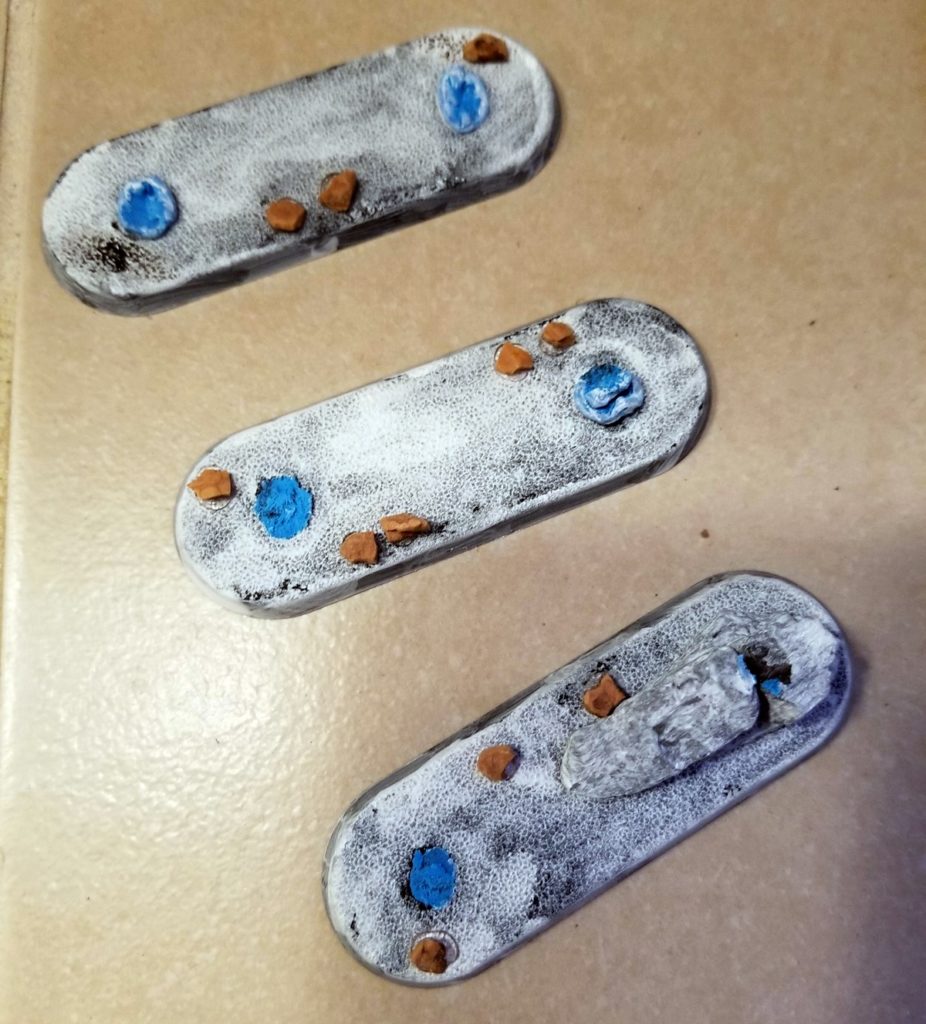
Basing differently threw me off enough that I forgot to prime my rocks.
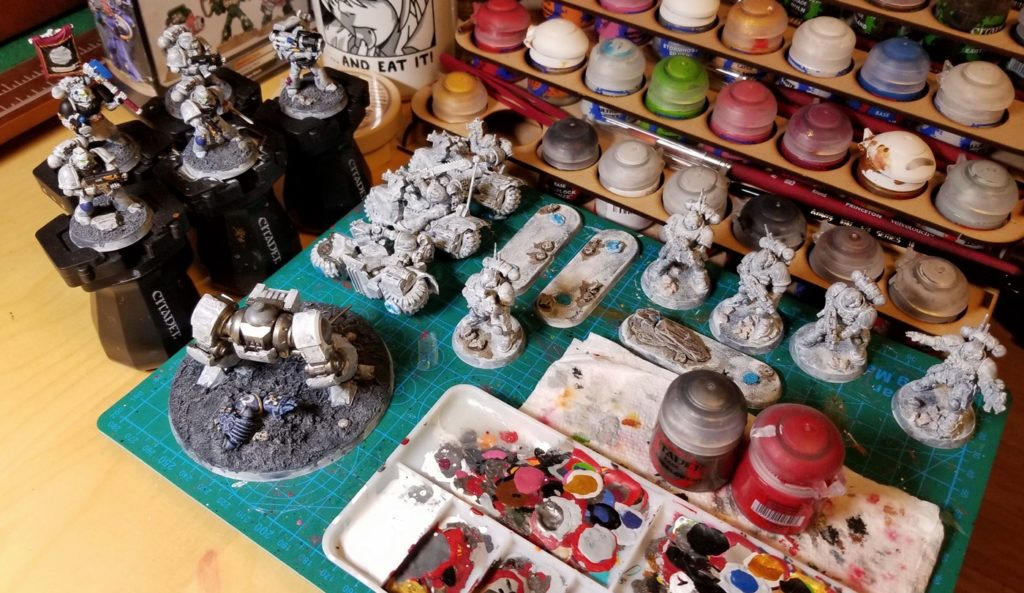
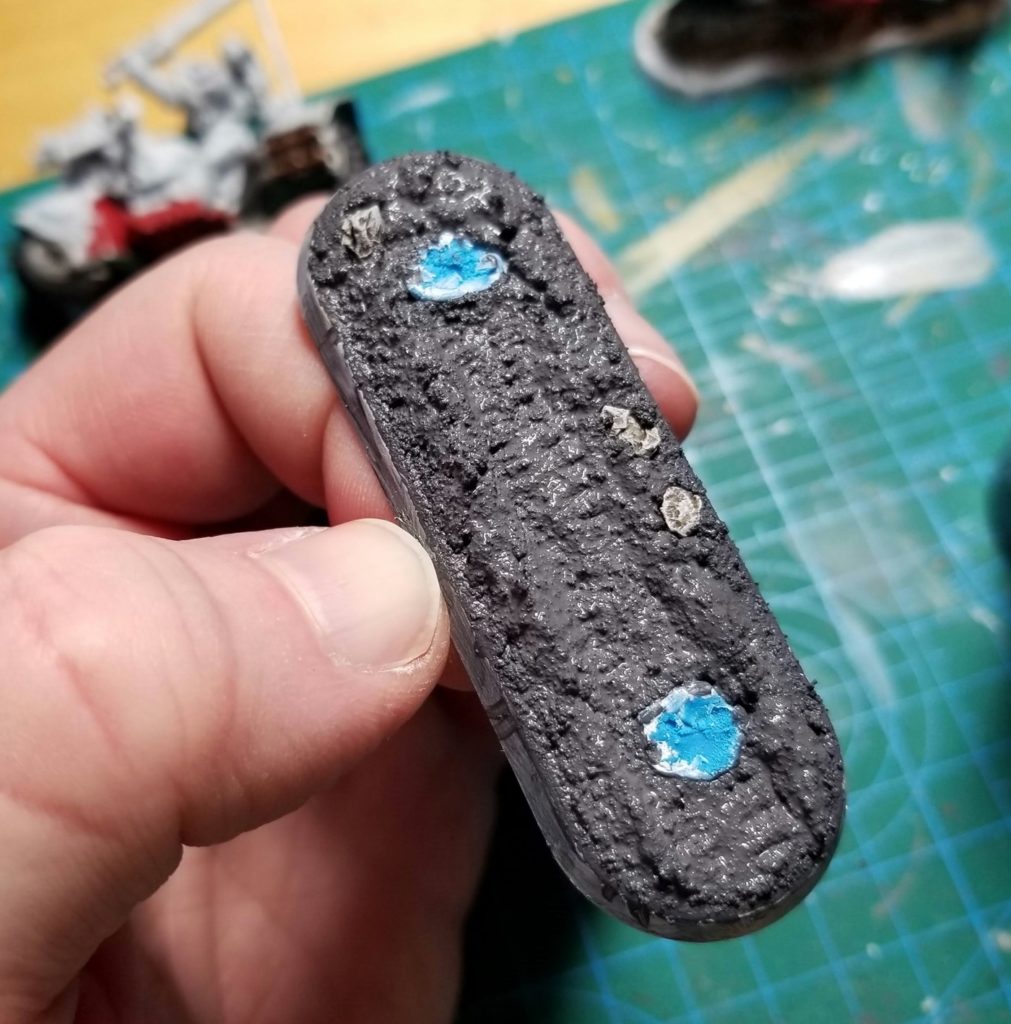
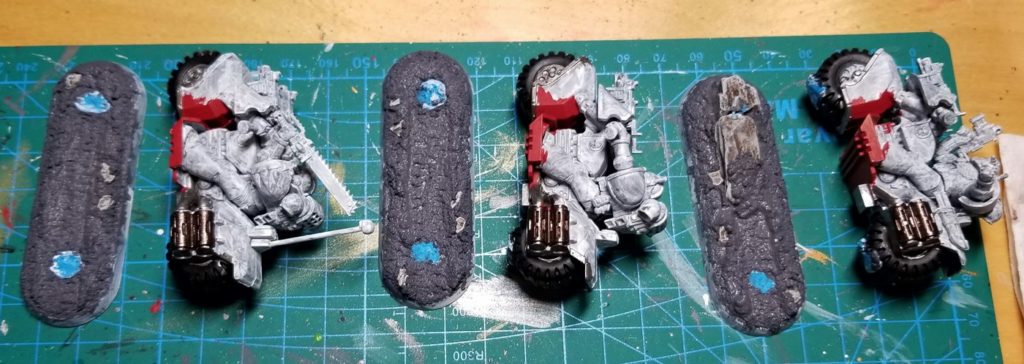
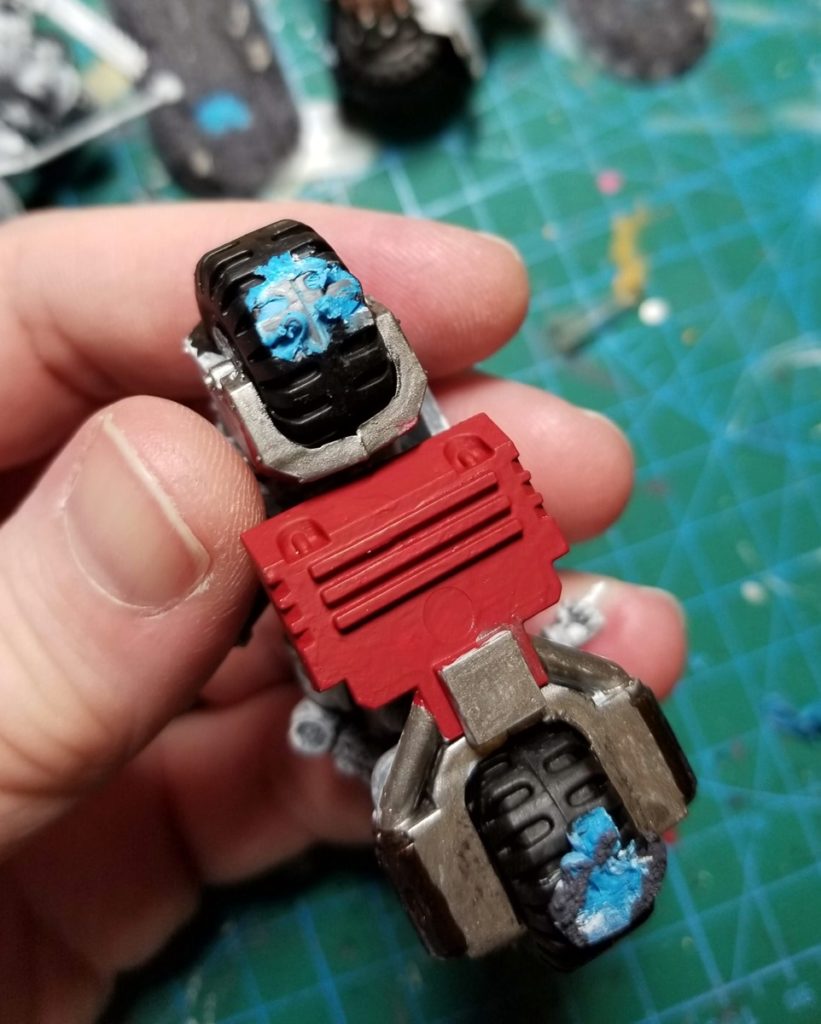
Like price tag stickers, the best tool for removing Blue-Tack (which sets up sticky and soft in this context, rather than staying in firm balls) was a blob of Blue-Tack. Once I figured that out, it was easy to get the rest of it off.
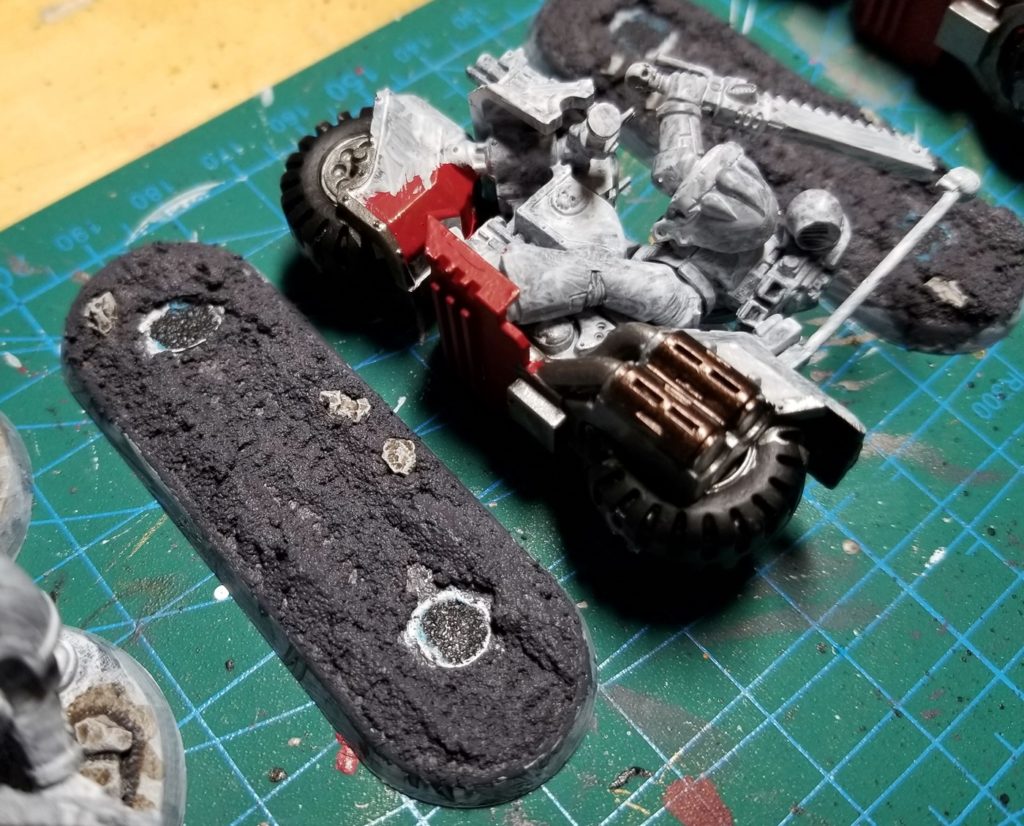
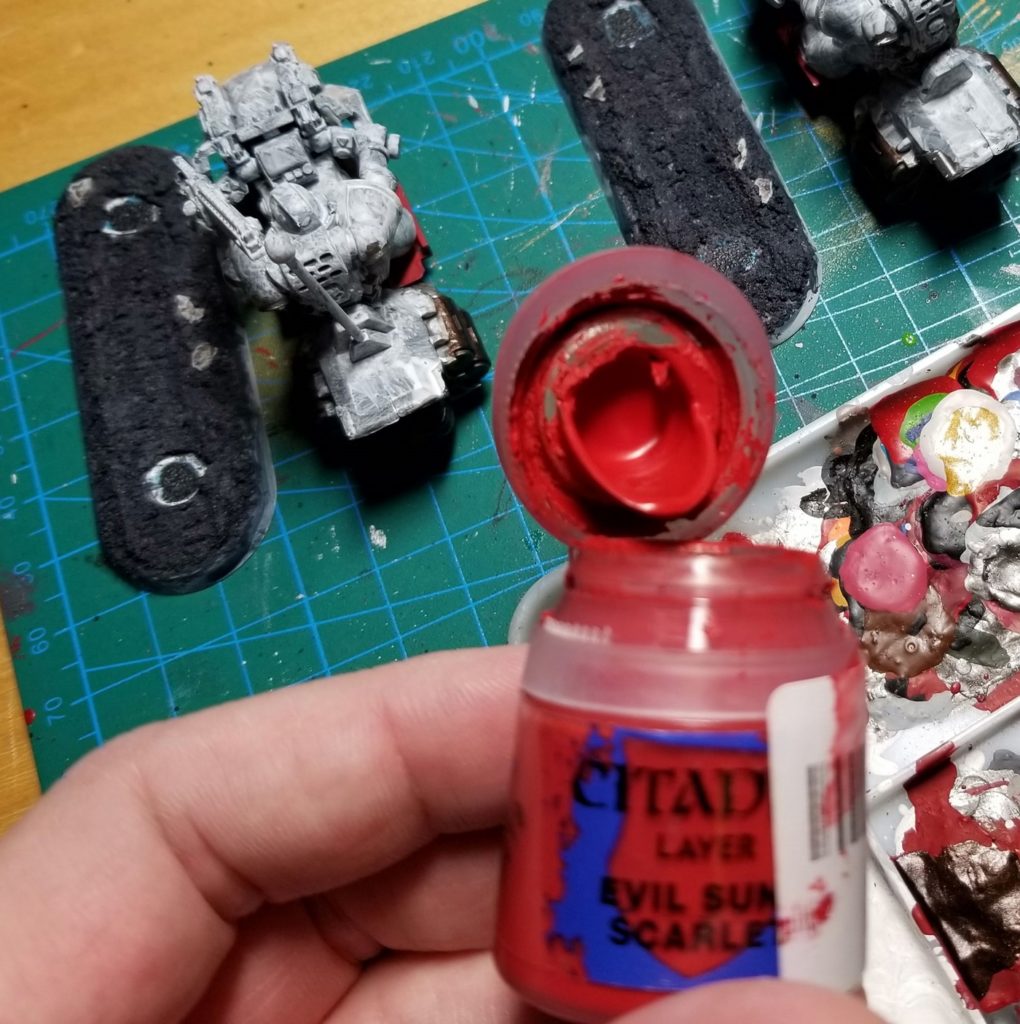
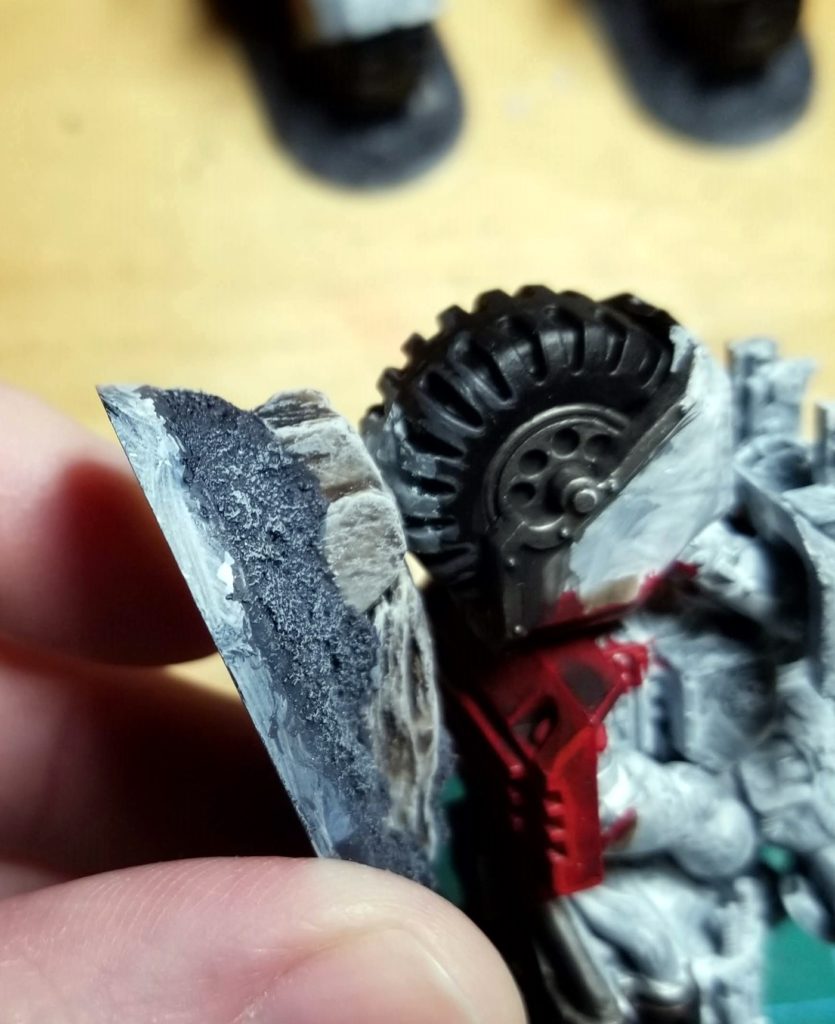
To my surprise, 5/6 of the tires turned out pretty well on the first try. They matched their “slots” on the base, no unpainted areas were visible, and they looked natural. Not perfect, but not too shabby. The only one that was off was the one propped on the rock; a quick prime/base coat/highlight and it was squared away.
The smear of dust/dirt on the base of the rock (visible in the fourth photo above) was my attempt at modeling the dirt left behind by the front tire as it traveled up the rock, but it didn’t work at all. It was too realistic compared to the rest of the miniature (which, notably, features clean tires without any dust/weathering), but not realistic enough to read as what it was supposed to be.
So I scraped it off with my hobby knife, re-washed and re-drybrushed the rock where it had been, and now it’s set.
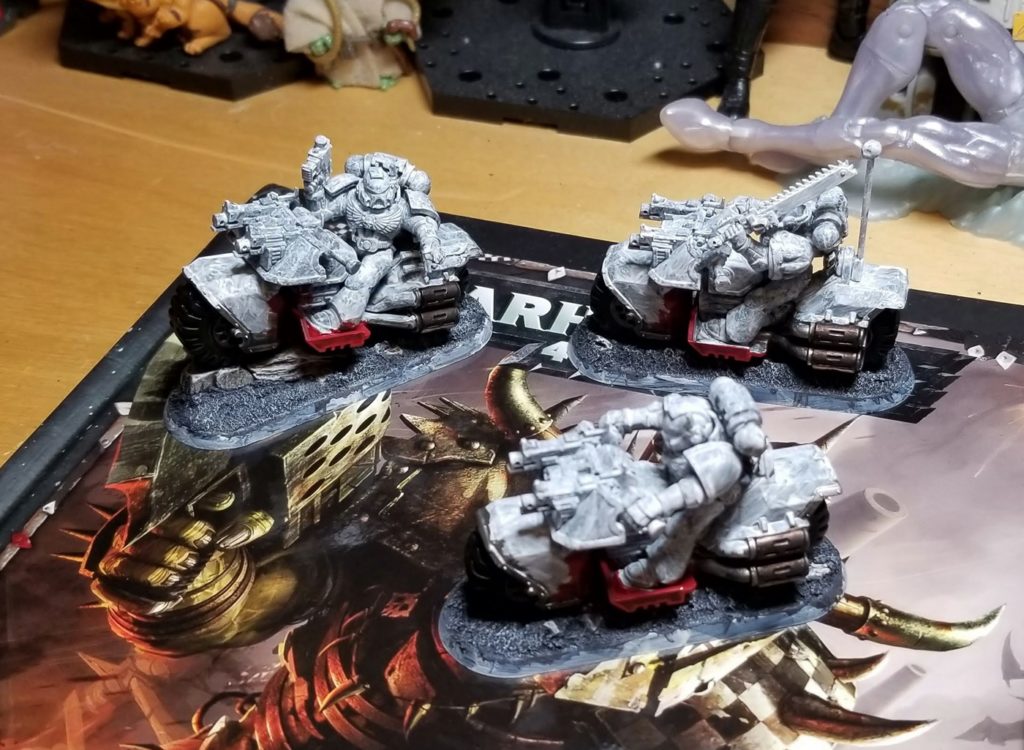
These guys are now getting set to one side so I can focus on finishing up the final squad in my initial 2,000-point army, Caedes. When I pick them up again, they should be much easier to paint as I’ll actually be able to fit them into my painting handles.
