A big part of why I love my lightbox is for how clearly it showcases my paint work — for good and ill. It’s a great learning tool.
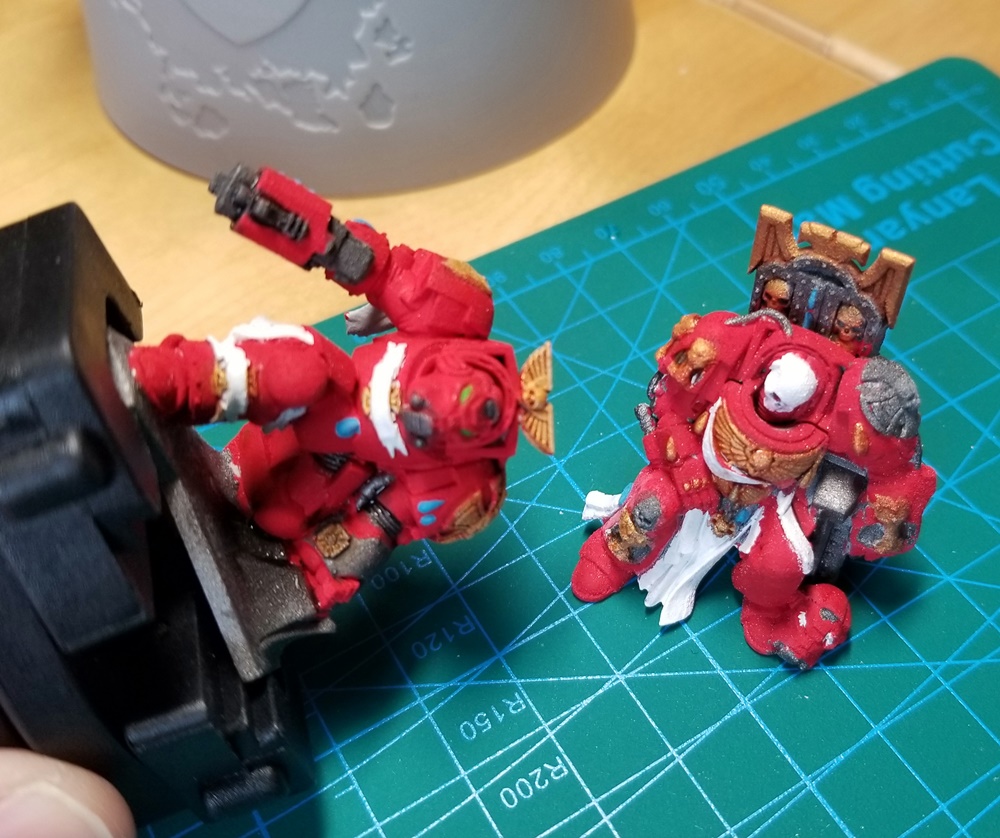
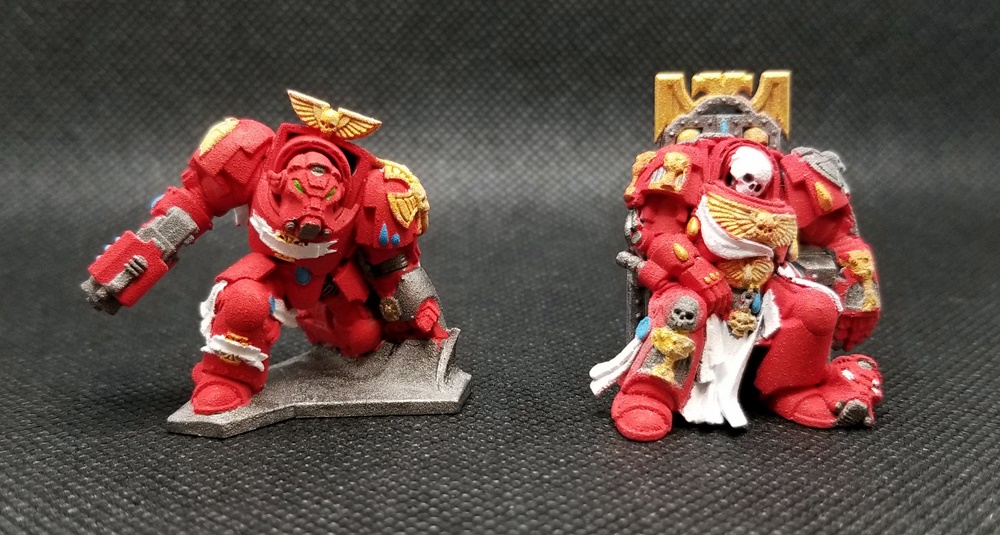
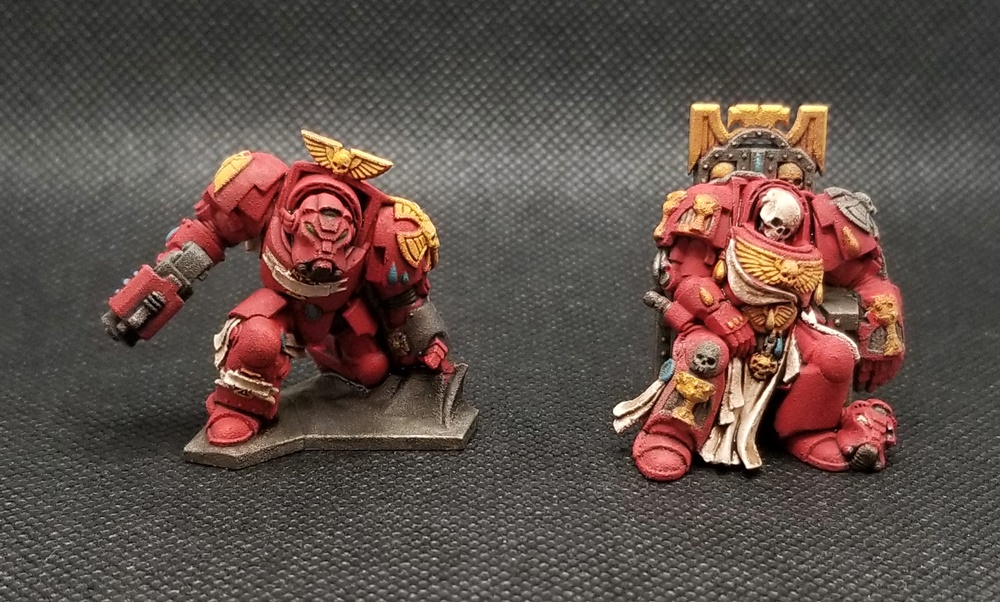
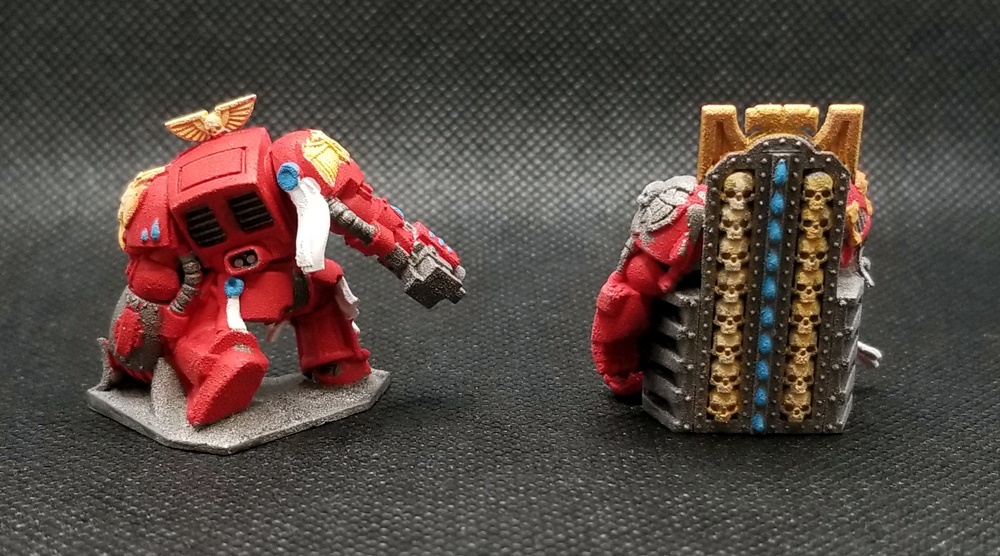
To that end, here are a couple of comparison photos of the same two models: first with only a base coat, and then with a wash (Citadel Shades) that I applied in this evening’s painting session. So far I’ve only been putting finished minis in the lightbox, but this seems like a potentially good use of it as well.
For context, I may have attempted a couple washes many years ago (~2007), but I can’t remember for sure. I know that all of my “recent” minis — from around a decade ago — were washed with the Dip Method because applying washes with a brush has always made me nervous. (It seemed so easy to screw up!)
I used an excellent article on Tangible Day as my basic guide to washes. It’s what pointed me to the Citadel Shade Paint Set (paid link) as a good starting point, and to the specific shades I’ve used here.
This is my first time doing a proper wash in something like 13 years — it might as well be my first time, really. I was nervous!
Before and after: front
Before and after: rear
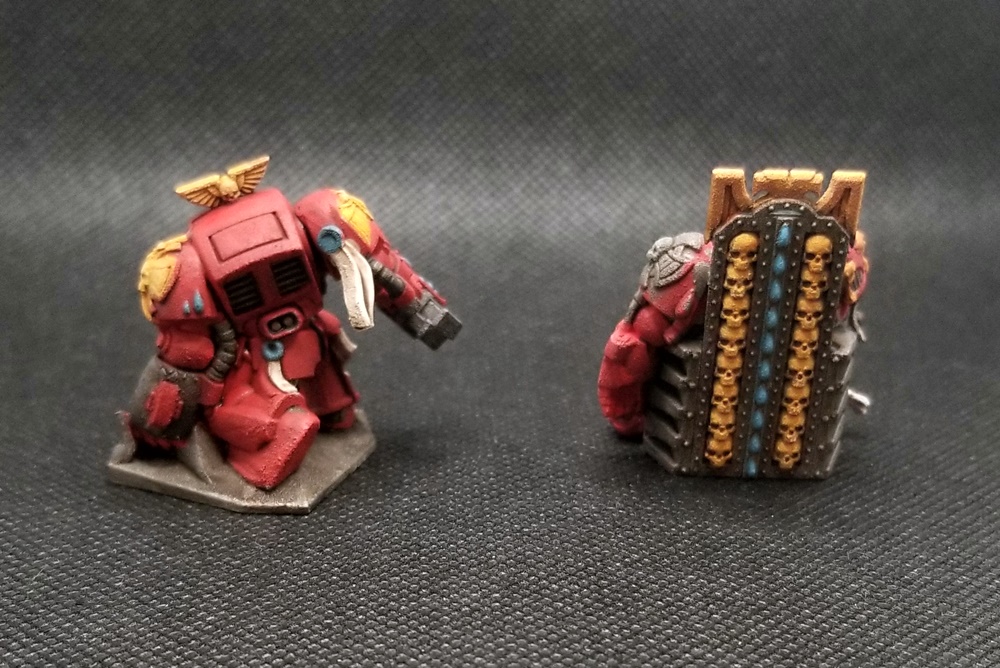
Side-by-side photos
WordPress makes galleries a breeze now — let’s see how they look in A/B mode.

Base coat only 
Base coat + wash

Base coat only 
Base coat + wash
Colors and shades
Colors are P3 Khador Red and Marrow White; and Citadel Leadbelcher, Lothern Blue, Auric Armor Gold, and Moot Green. Primer is Armory white spray and my brushes are a mix of Citadel and Armory.
I used different shades for each Terminator. Since throne boy is long-dead and basically part of the space hulk, not the Terminator squad, he got Reikland Fleshshade on his gold bits (to make them look a bit more aged) and Agrax Earthshade everywhere else. It’s not like he’s doing regular armor maintenance anymore, right?
Brother Scipio got Nuln Oil on his Leadbelcher elements (for that cool/dark metal look), Seraphim Sepia for his gold (for a more burnished look), and Agrax Earthshade everywhere else — including the base, since it’s rusty decking.
Annnnnd exhale
Compared to using the Dip Method, which is both forgiving — it goes everywhere, you can’t miss any spots — and unforgiving, since you only get one color and it’s pretty thick, applying a wash with a brush (Citadel Shade M) was . . . a lot of fun.
With the Dip, I was outside on my stoop, gripping the base of the mini with needlenose pliers, shaking the everliving fuck out of it while hoping I didn’t a) fling it across the driveway or b) shake off too much varnish.
With a brush, I felt much more in charge. I did a quick pass everywhere, probably too heavy, making sure to brush across details rather than along them. Then I poked all the crevices; and finally I followed up with a shade-free wet brush to get some of the “globs” of wash thinned out a bit.
Not gonna lie: It was a bit nerve-wracking — at first. But after a few strokes I saw that this was going to be almost as forgiving as the Dip, and increased control and the ability to use multiple shades felt like solid trade-offs.
I’ve always been nervous about doing washes. No longer!

Thanks for the compliment ! These came out wonderful :)
Thanks for the guide!
It’s fun to see your work on Gnome Stew now, too. If our time there had overlapped, I’d have enjoyed blogging with you.