With my Rhino, Relentless, mostly base-coated, it was time to do the hazard stripes before moving on to a second coat of red.
I love hazard stripes, especially how they pop against red, and they make sense for the rear drop-door: “stay clear or this massive slab of Ceramite will crush you and then a 10-man squad of Space Marines will grind you into jelly as they charge into battle.“
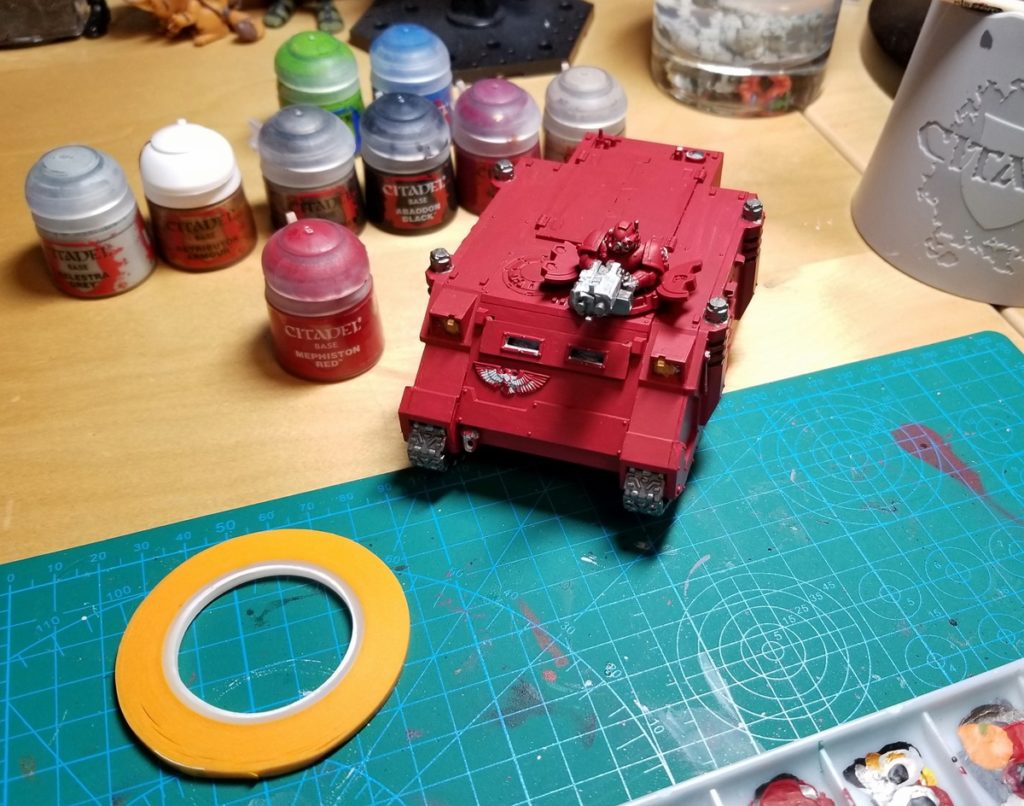
I did the hazard stripes the same way I did them on Squad Ultio: two coats of Averland Sunset on the whole surface, cover with Vallejo hobby tape (3mm this time), remove alternate strips, paint those areas Abaddon Black.
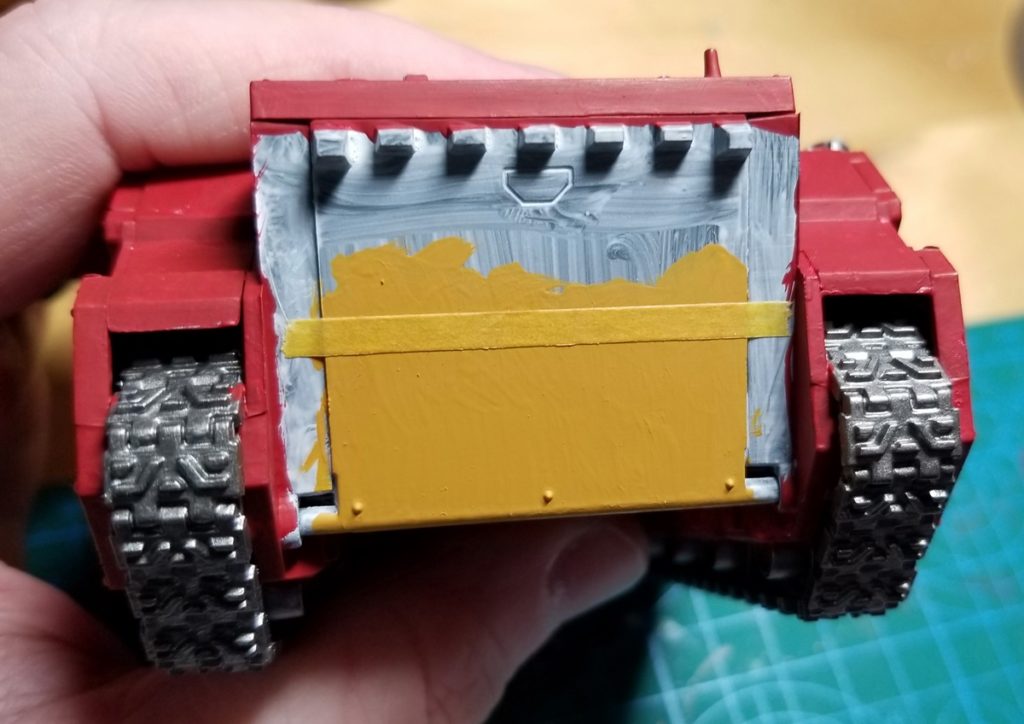
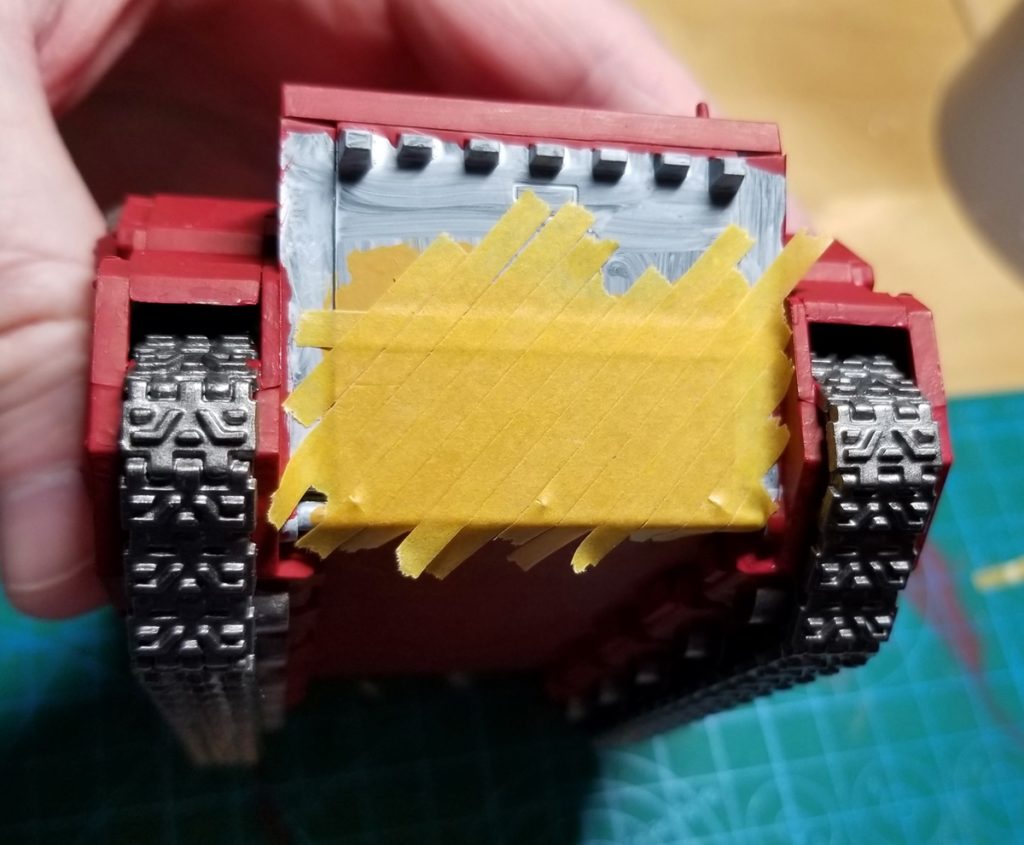
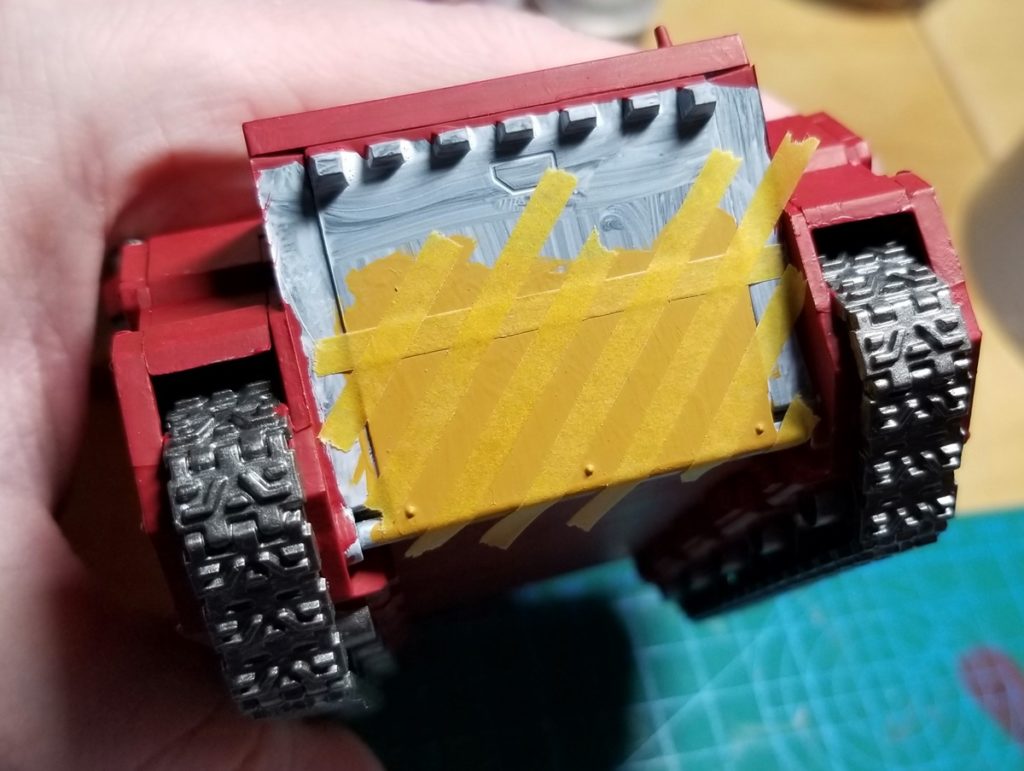
I figured the areas with the bolts would be more likely to let paint “bleed” under them if I left them taped (since they prevent the tape from seating fully). By happy accident all three bolts fell on alternating strips.
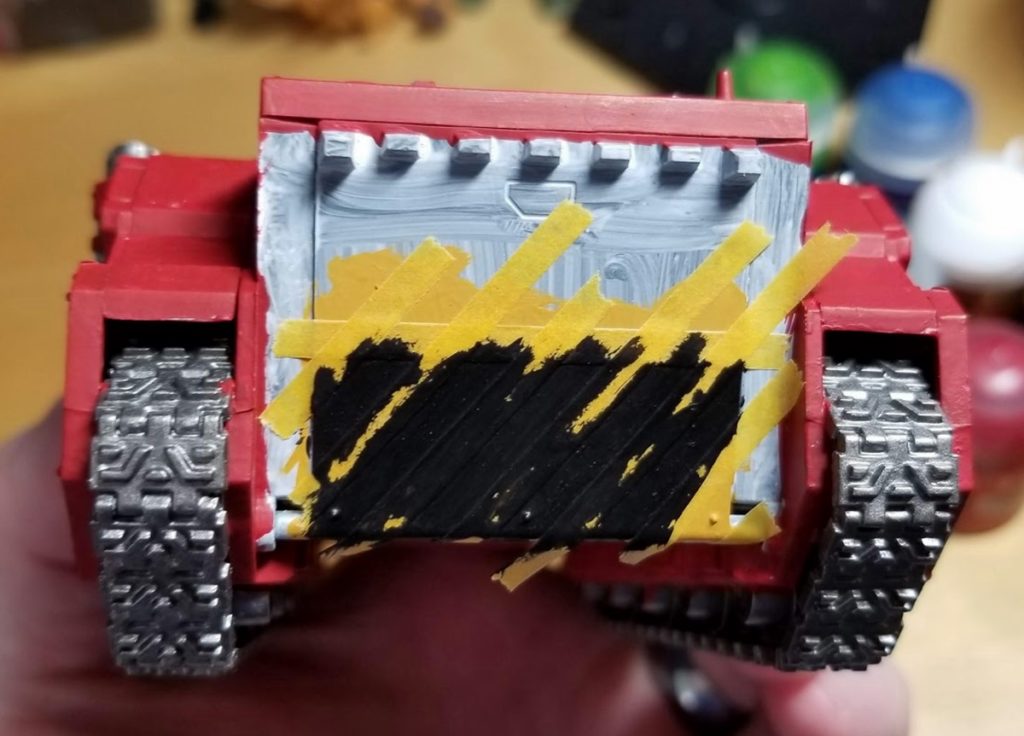
I recommend skipping the bonus steps I added: “Realize trying to use up the last of the black that’s drying out means you’ve just gobbed on quite thick paint,” and “notice you’ve missed a bit and have to backtrack.”
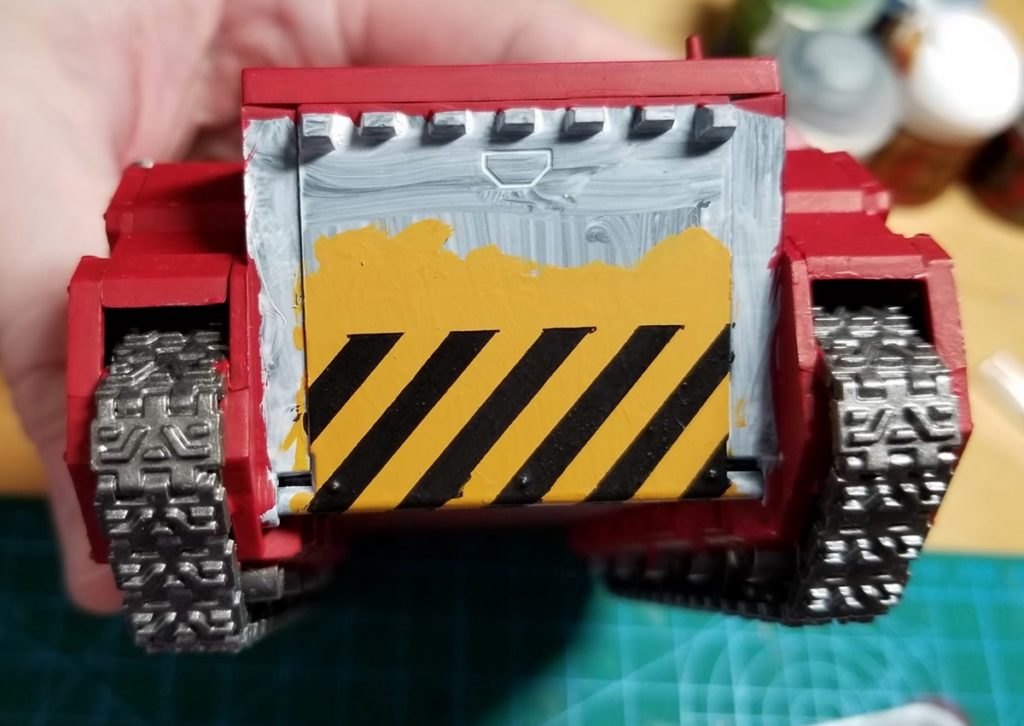
Like Ultio’s stripes, they’re not perfect. But they’re better than what I can do freehand, and should be fairly easy to touch up when I reach that stage.
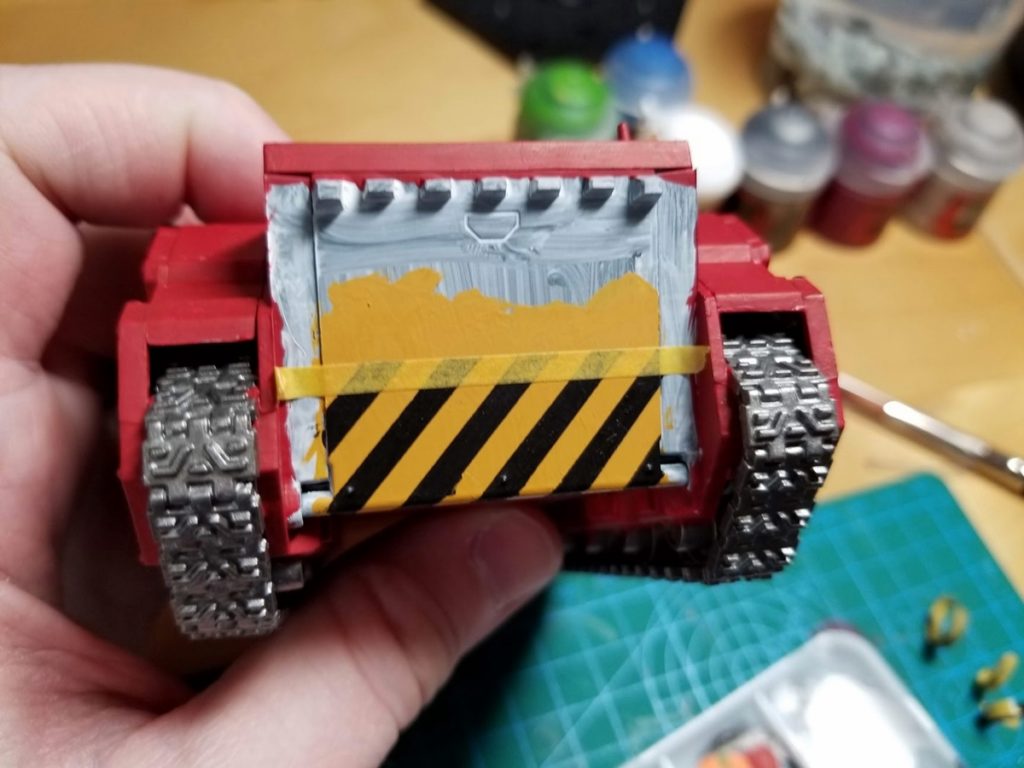
After painting down to the top edge, I realized I had no clear demarcation for the bottom edge. I tried a few tape lines that incorporated the door pivot/axle thingie, which is cylindrical and therefore annoying to tape up cleanly, and eventually decided that the bottom edge should align with the bottom of the frame instead.
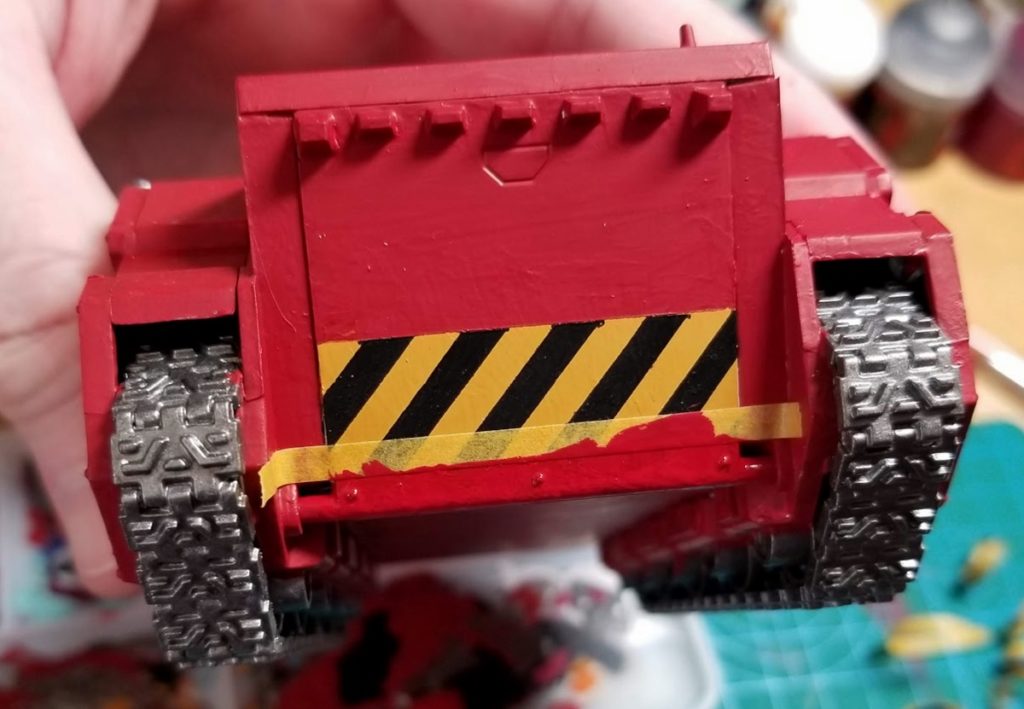
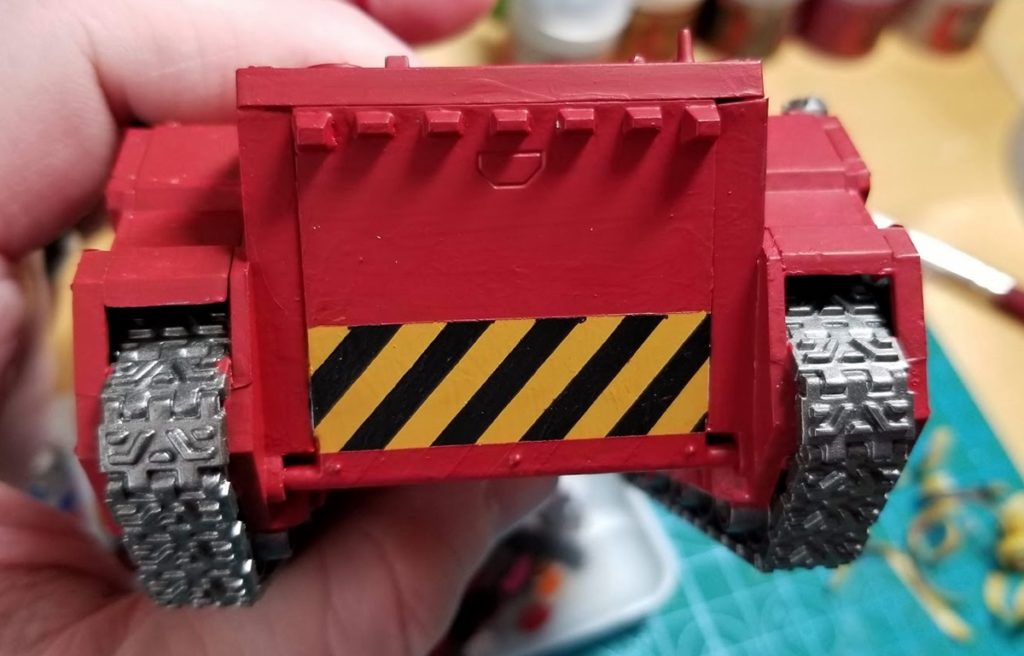
I thought this would be a piece of cake! So much easier than wrapping a symmetrical pattern around three sides of an object, like I had to on Ultio — right? Narrator: Wrong.
But now I’ve got a pretty good template to use for my next Rhino/Razorback!
