
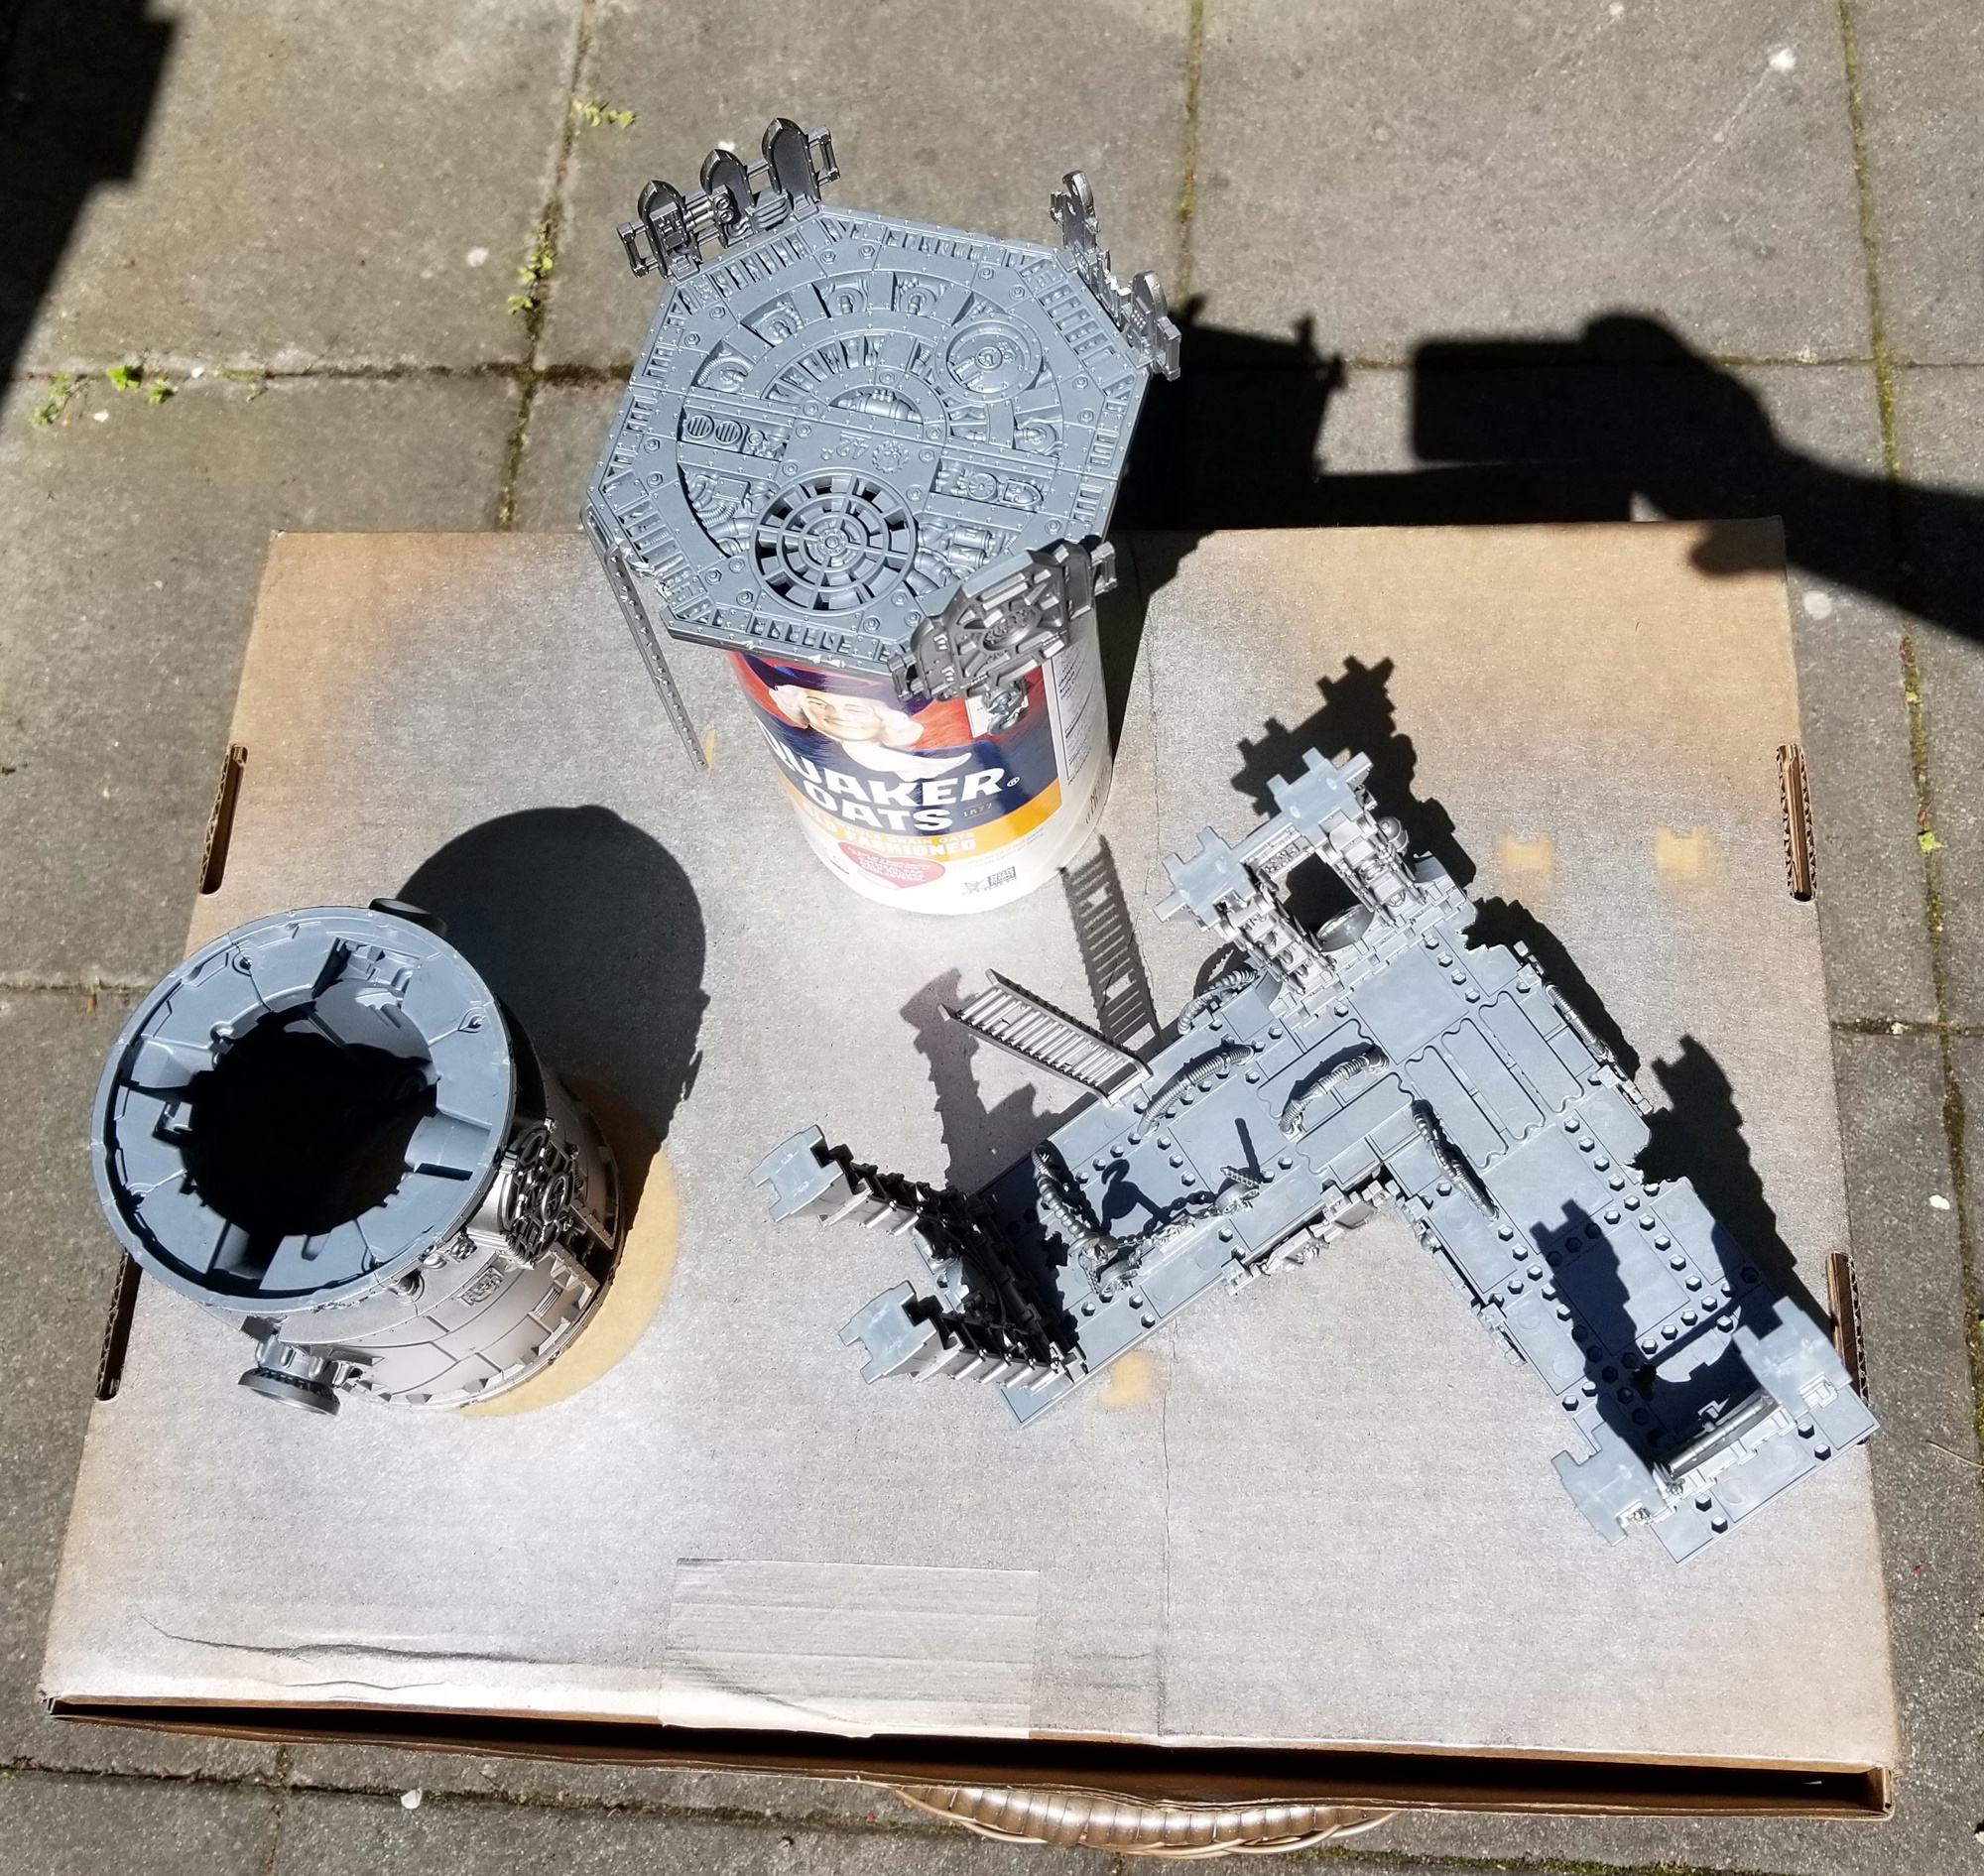
I started my 40k terrain collection with pieces from the Manufactorum line, and then added a bunch from the Sector Mechanicus line — enough stuff that, if I built all of it, I could kit out a 2,000-point 40k board. My plan has always been to find a paint scheme that unifies these two themes, and after looking at lots of possibilities I settled on this one.
My goal here isn’t to replicate the studio paint schemes for Mechanicus terrain (although they’re great!), it’s to make my bombed-out table full of a mix of Manufactorum and Mechanicus pieces looks cohesive. I’ve gotten ideas from Warhammer TV videos and Google searches, referenced Citadel’s mini-guides for specific colors (e.g. Deathworld Forest), and used my Manufactorum color guide as my baseline.
Tying Sector Mechanicus to Battlezone: Manufactorum
My approach is to follow these steps in this order. That entails a rattle can primer/base coat, tackling the biggest sections, completely finishing everything but the tiny details (pipes, plaques, handles, screens, wires, and the like), then doing those details (with no wash/highlight steps for them!), and lastly weathering the whole piece.
- Spray everything Leadbelcher. Tackle each piece in two stages: broadly, top and bottom. Flip them over and wait 15 minutes before spraying the second stage.
- Big stuff:
- Stanchions and gantries: base coat the tops of the gantries Deathworld Forest (over the existing Leadbelcher primer/base coat); touch up any overspill with Leadbelcher; wash the stanchions and both sides of the gantries, starting with the undersides and waiting an hour before doing the rest; and then completely finish these sections (all the way up to top-level drybrushing). That way I can be messy with my washing and drybrushing before painting the other elements.
- Tops and edges of gantries: Deathworld Forest > Agrax Earthshade > Elysian Green drybrush > light Screaming Skull drybrush
- Undersides of gantries: Agrax Earthshade
- Stanchions: Agrax Earthshade > Ironbreaker drybrush > Necron Compound drybrush
- Red metal (large plates, tanks, doors, some pipes): Khorne Red > Nuln Oil > Wazdakka Red drybrush > very light Squig Orange drybrush
- Railings and large pipe joints (compatible with Manufactorum pipes): Wraithbone > Seraphim Sepia > Agrax Earthshade pin wash along seams/wherever they’d be really dirty > Tyrant Skull drybrush > Praxeti White drybrush, focusing on the high points and edges
- Bare metal (ladders, chains, hooks, etc.): Agrax Earthshade > Ironbreaker drybrush > Necron Compound drybrush
- Bronze: Warplock Bronze > Agrax Earthshade > Brass Scorpion on the relief elements
- Big 3-D Cog Mechanicum: The metal elements are already done (silver spray, wash, drybrushes).
- White: Corax White > Apothecary White contrast paint > light Praxeti White drybrush
- Black: Corvus Black > Basilicum Grey contrast paint > light Eshin Grey drybrush
- Eye: Corax White > Khorne Red > Evil Sunz Scarlet
- Small Cog Mechanicum: The metal elements are already done (silver spray, wash, drybrushes), and these are all too awkwardly situated for me to do much else to — so I keep them simple.
- White: Corax White > thinned-down Agrax Earthshade wash in the recesses
- Black: Abaddon Black
- Hazard stripes: Averland Sunset/Abaddon Black (use 3mm Vallejo hobby tape to mask them off) > very thin Agrax Earthshade wash to dial them back a bit
- Stanchions and gantries: base coat the tops of the gantries Deathworld Forest (over the existing Leadbelcher primer/base coat); touch up any overspill with Leadbelcher; wash the stanchions and both sides of the gantries, starting with the undersides and waiting an hour before doing the rest; and then completely finish these sections (all the way up to top-level drybrushing). That way I can be messy with my washing and drybrushing before painting the other elements.
- Little details (wires, conduits, screens, etc.): Base coat in a single color (Averland Sunset, Macragge Blue, etc.) and vary these choices across the terrain pieces (especially duplicates!); it sounds like heresy, but these truly don’t need any follow-up coats/layers/etc.
- Weathering:
- Rust: Thinned-down Skrag Brown > thinned-down Fire Dragon Bright
- Verdigris: Nihilakh Oxide on bronze elements
- Bullet holes: Shade them with the rest of whatever surface they’re on, then at this stage just fill them with Leadbelcher
- Chipping and damage: Sponge on Rhinox Hide, focusing on the blasted edges and torn-away elements, but also randomly putting it everywhere that feels right
If you like this color scheme/approach, there’s nothing about it that’s unique to my setup; it should look dandy without the Manufactorum pieces to complement it.
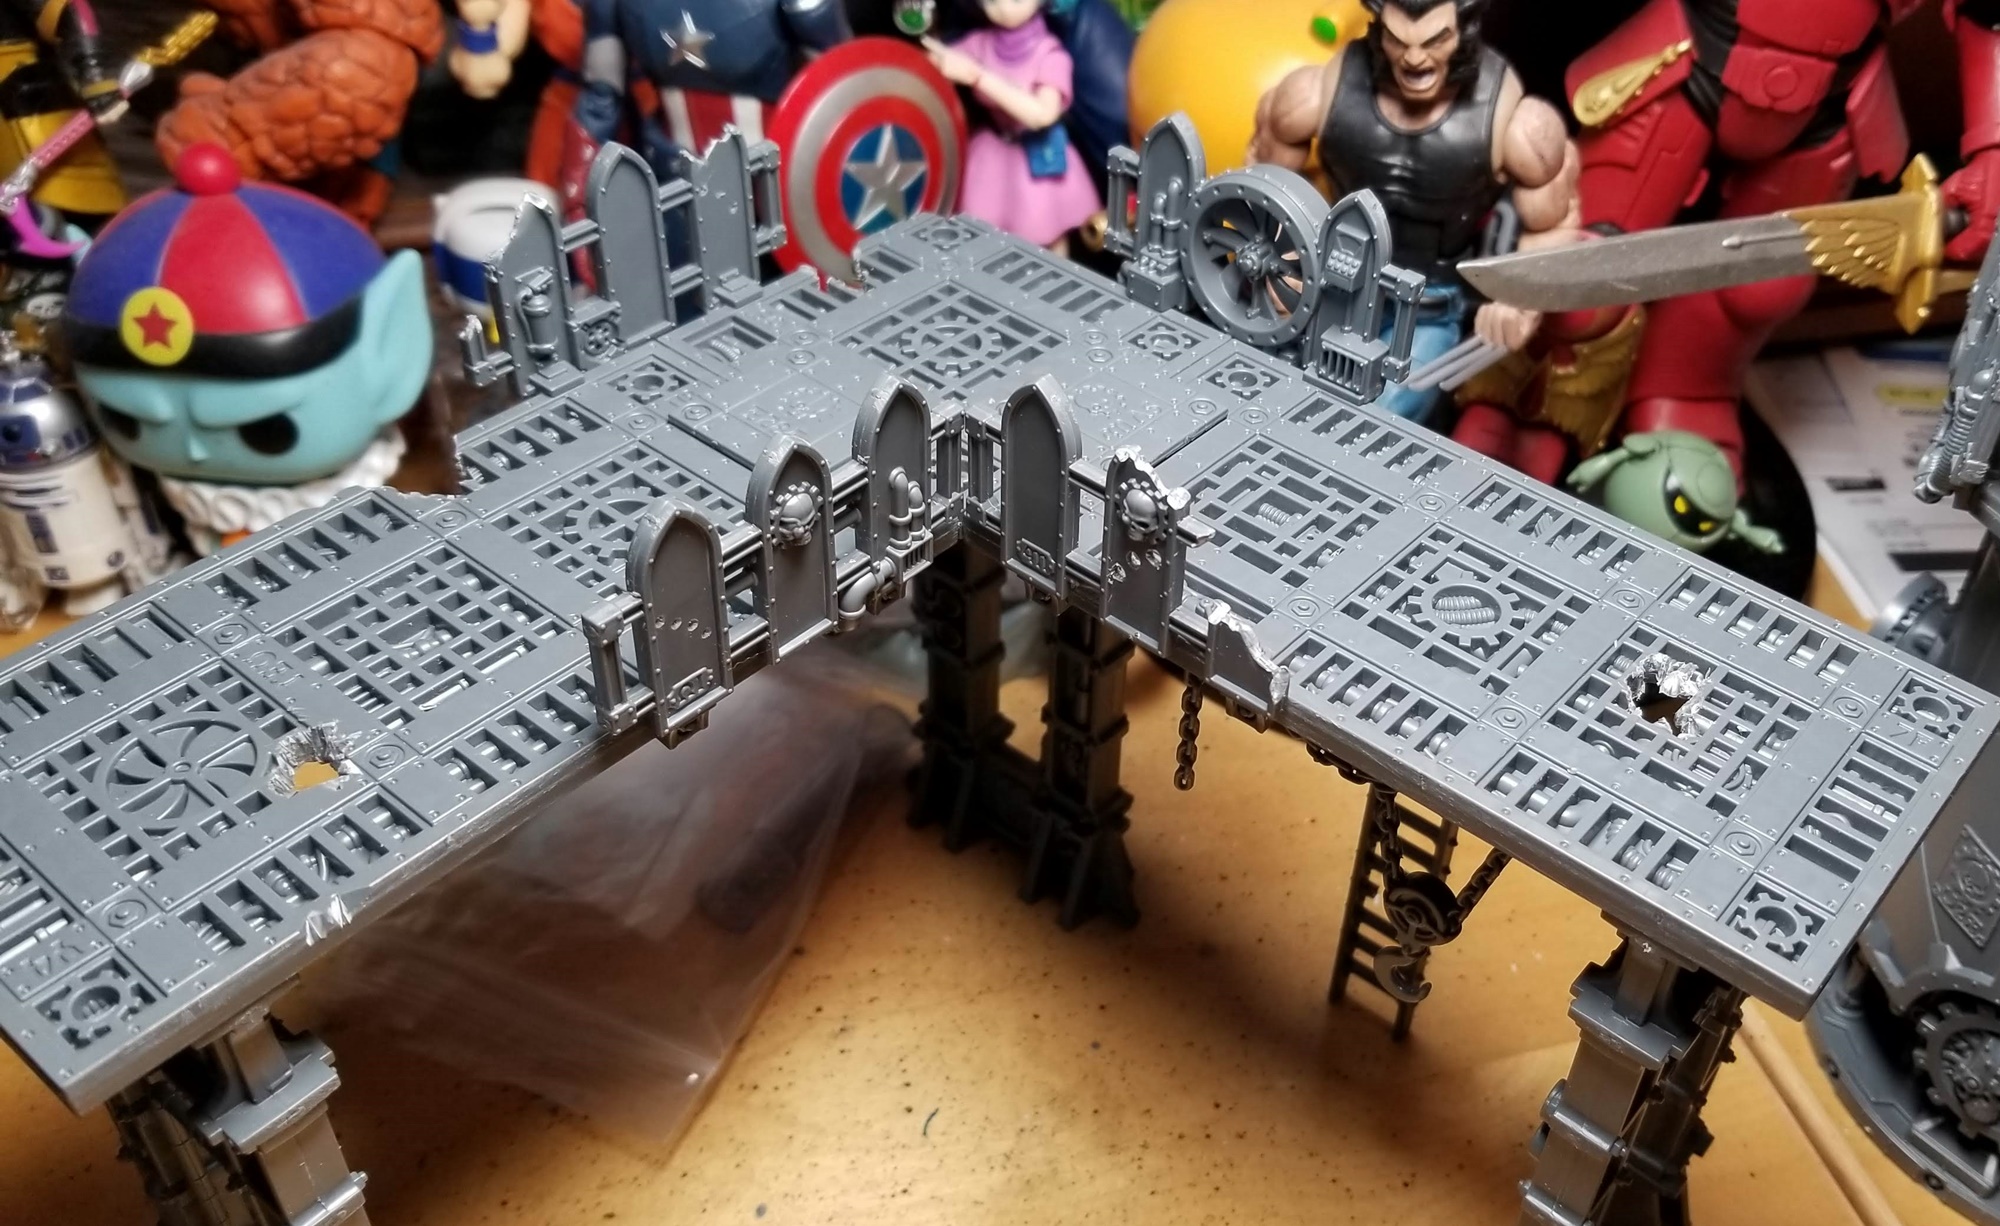
Note that during assembly I’ve added battle damage and decay to my Mechanicus pieces: holes in gantries, missing ladder rungs, bullet holes, smashed railings, etc. My rules of thumb are: no section of gantry intended to mate with another at the table should be too badly damaged, as that would look weird if the other side didn’t match; and don’t overdo it. These aren’t ruins, like most of the Manufactorum pieces, but they have seen some shit.
My hope is that the mix of ruined and intact pieces, which is common to both terrain themes — out of the box in the case of Manufactorum, and added by me in the case of Mechanicus — will make the whole battlefield cohesive, immersive, and fun to look at.