I know I’m posting a lot these days — I’ve been blogging for almost 15 years: posting twice a day, for one person, is a lot! — but I’m deep in the joy of this extended moment, of being a novice miniature painter falling in love with this hobby. Everything is new for me right now, even little things — like today’s new little things, blending paints and following a basing recipe.
Plus, you know, the whole family is stuck at home — like yours probably is, if you’re reading this around the post date and not years later. Not to make light of the situation, but late February has turned out to be a serendipitous time to get back into painting miniatures.
The larch
Before diving into today’s WIP post, I want to wish everyone reading this well. I hope you and your families are safe and weathering the COVID-19 pandemic as well as possible.
Yore isn’t a news blog, or really a serious blog at all most of the time. It’s a creative outlet, it’s my hobby space, it’s something I work on when it’s fun. I figure you’ve got COVID-19 stuff coming at you from a million angles, so I’m going to keep doing what I do here: talking way too much about miniatures.
Stay safe out there!
Infiltrators, assemble!
After giving myself what I suspect was a glue-induced headache last night, I changed up my assembly routine a bit. Instead of trimming and gluing in small stages, which is more fun, I’m trimming every piece and then assembling them all at once.
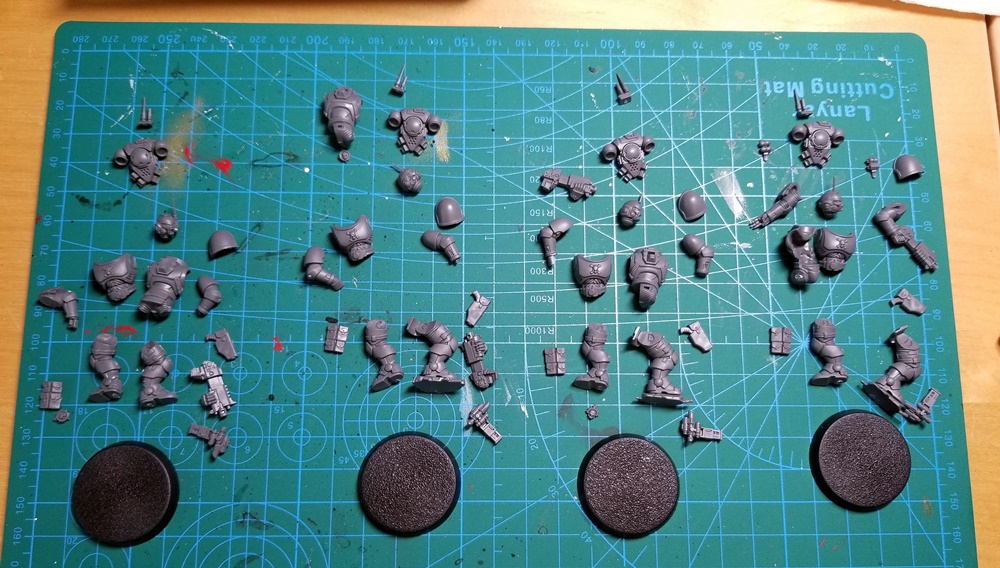
I’m also sticking newly-glued minis in the bathroom with the window open and the fart fan running. So here’s a bathroom shot of Squad Dolos, fully assembled:
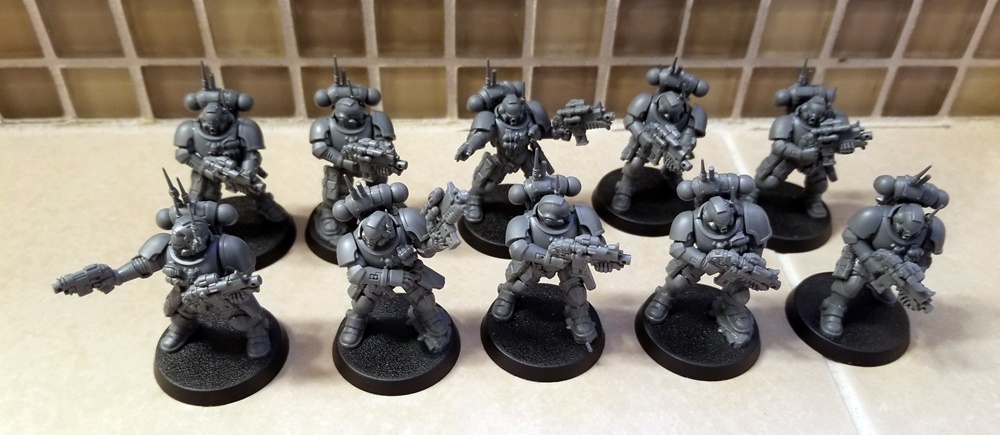
Sergeant Dolos is front left; the sub-squad leader (pointing hand) is back center. Since my current Blood Angels list doesn’t have room in it for either of the Infiltrators’ special units, the comms guy or the Helix Adept, I had to get a bit creative with the mini that the kit assumes will be the comms guy. (Weirdly, you don’t get the Helix Adept mini in this kit; it’s only in the Shadowspear box, I believe.) I used two Incursor arms, which are included because this kit lets you build either; he’s the sub-squad leader.
ZEM brushes
I also picked up some inexpensive brushes, a ZEM detail set (paid link), since I’m still pretty bad at taking care of my brushes. I’m getting better! But I’m still not great. These are under $2 each, as compared to a $5-$6 Army Painter brush — and available for delivery, which is handy since my family is sheltering in place for who knows how long.
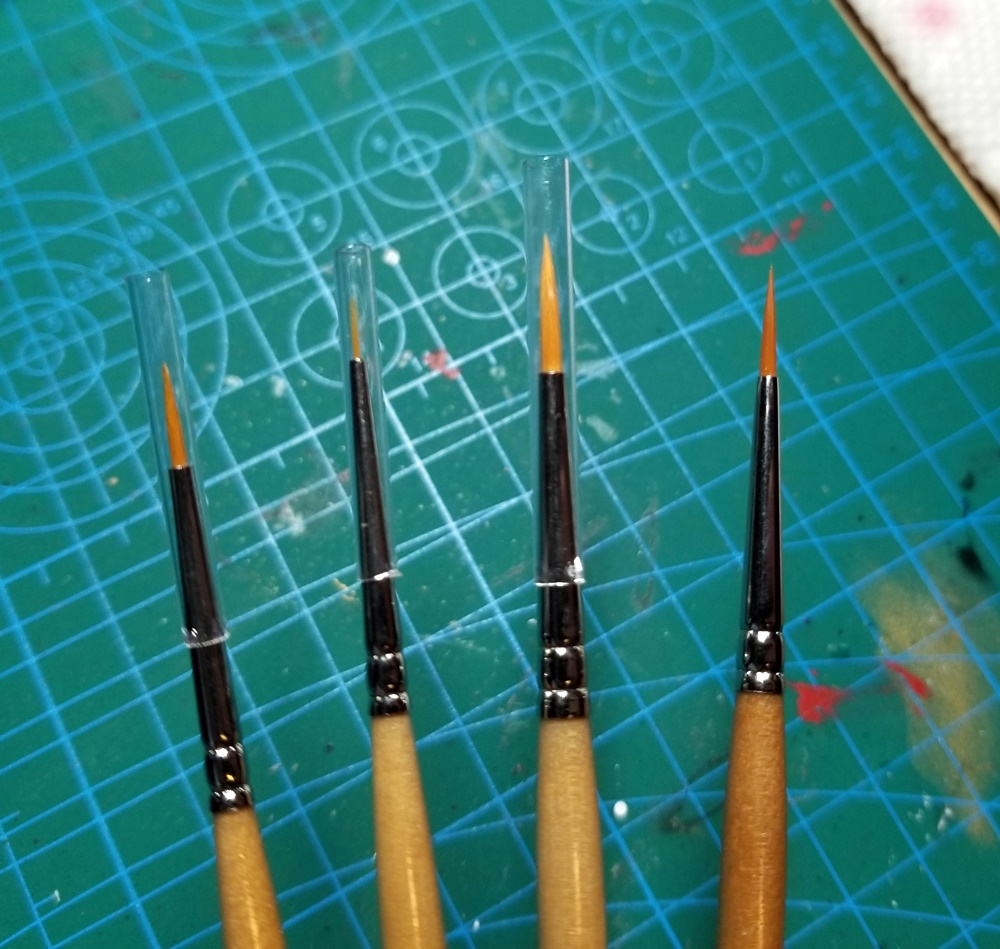
I used the 0 today and quite liked it. It’s got more bristle tension than some of my other similarly sized brushes, which is handy. After a short painting session, though (just skulls and rocks on 10 bases), the tip looked like this:
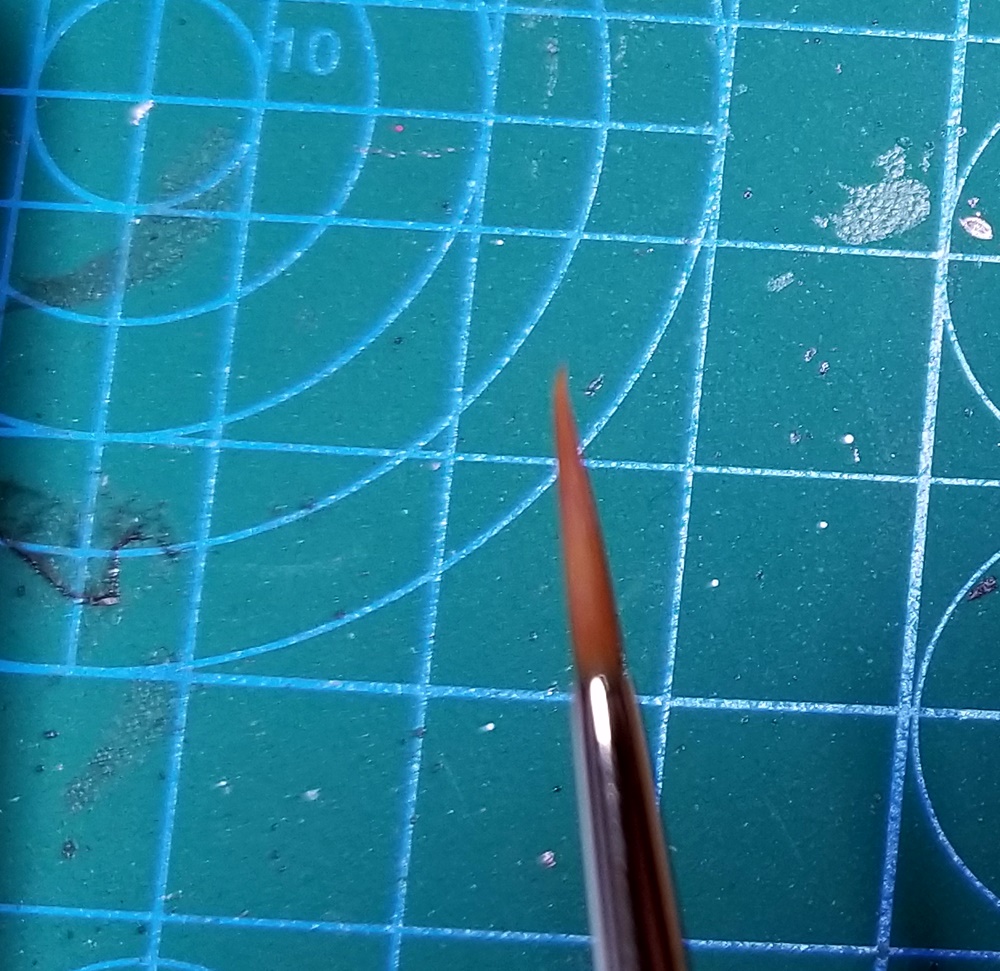
From what I’ve read, that “tip curl” is a hallmark of cheap brushes in general and cheap synthetic brushes in particular. Still not a bad brush for the price, but I’m now doubting how much I’ll like the finer-tipped ones — since a curl in those can really wreck detail work.
Basing Squad Karios
My first squad has a post tag of its own (they all do; so far that’s Dolos and Cain), in case you want to follow their journey from box of plastic to fearsome painting Space Marine infantry. Today’s step on that journey, now that their primer is cured, is to paint the little rocks and skulls I glued onto their bases and then apply texture paint.
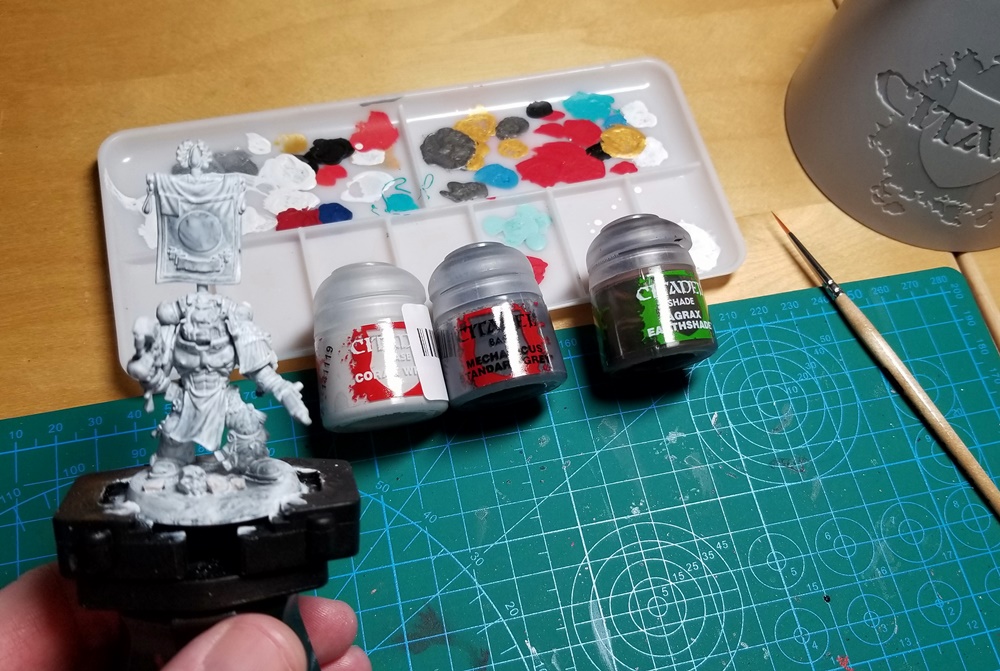
I don’t have a medium gray in my paint stash at the moment, and I want these rocks to be lighter than the texture paint (Astrogranite Debris) but darker than the drybrush color I’m going to use (Grey Seer). So: it’s blending time!
I did a 50:50 blend of Corax White and Mechanicus Standard Grey, thinned it with a bit of water, and went to town.
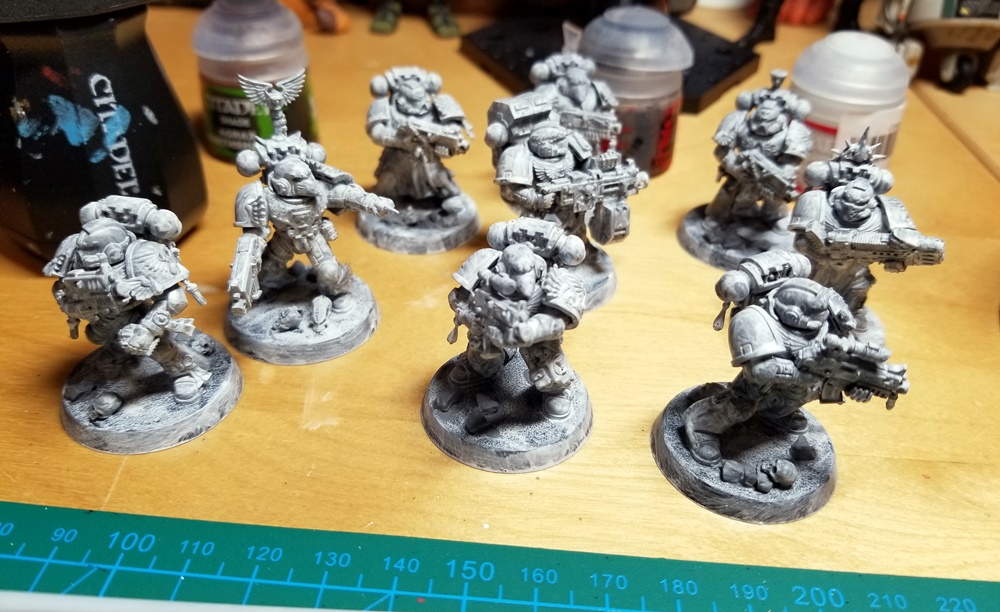
I use a dry palette, so I had to mix up a new batch after about five guys — which is fun, because the little variations in my batches will ensure that my rocks don’t all look like they came from Rocks ‘R’ Us. It tickles me to no end that the best way to get actual rocks to look like they belong with a miniature is . . . to paint them to look like rocks.
Next up were the skulls, in Corax White, followed by a quick Agrax Earthshade wash on them and the rocks.
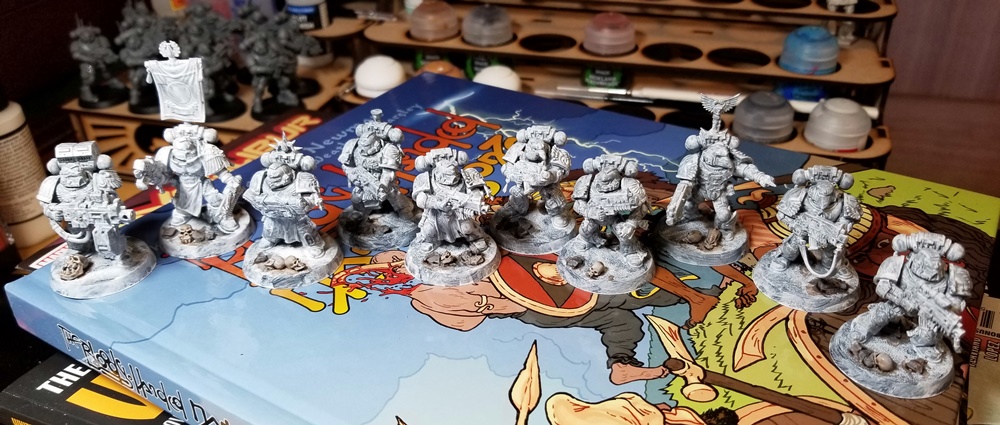
And after that, the texture paint. I gather than Citadel has reformulated this stuff in the past few years, and merged it into their Technical line (it’s no longer actually called Texture), with one of the results being that you can apply it with a brush. But as soon as I opened my pot of it, I was glad I had the Citadel Texture Spreader (paid link): the Astrogranite Debris is a thick, slightly dry paste.
I used the small end of the spreader for all of these. The large end looks ideal for wider bases, but on these I needed the little paddle.
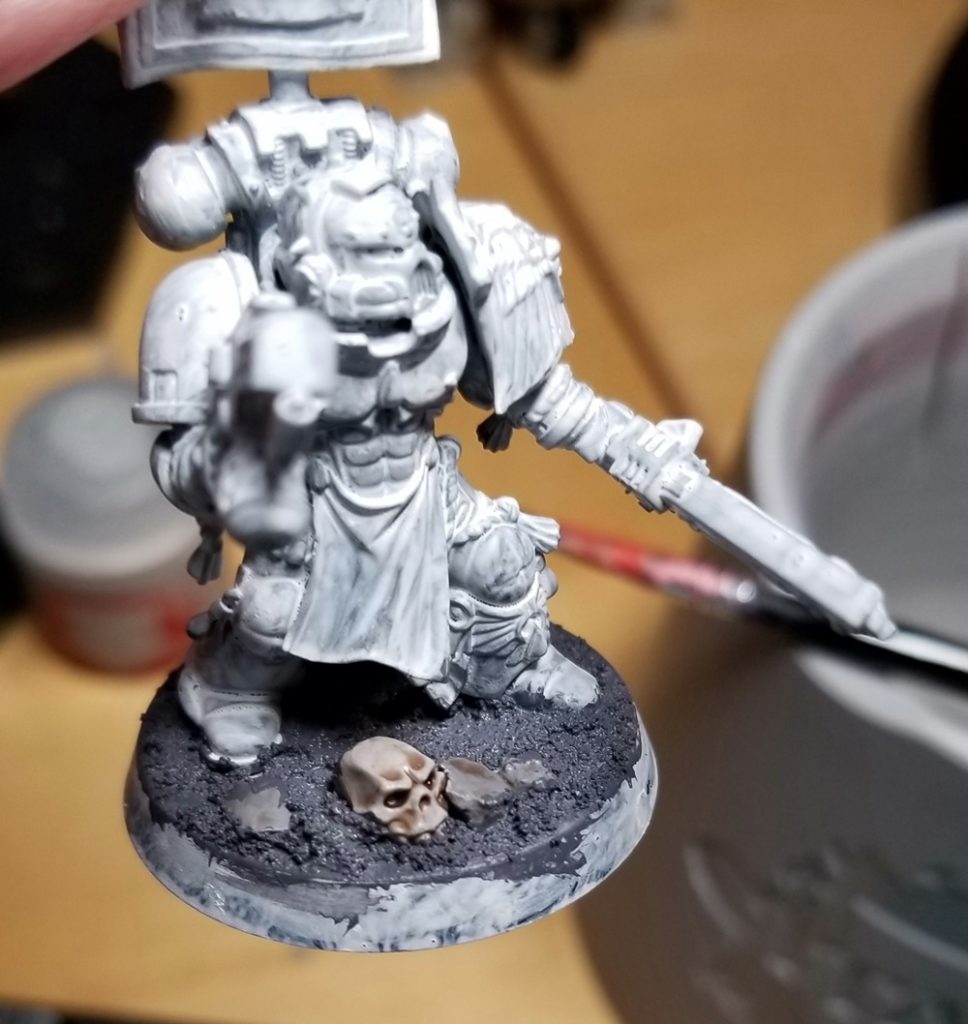
This stuff is fun. Like, really fun. I’m applying it now so I can wash and drybrush without ruining my minis’ legs, but lots of folks apply it last. Using the tiny end of the spreader I was able to manipulate the paint easily enough that I’d have felt just as comfortable doing with a fully painted mini.
After each one, I ran my finger around the edge of the base to corral any loose grit. (Once the whole mini is done I’ll paint the base edges, of course.)
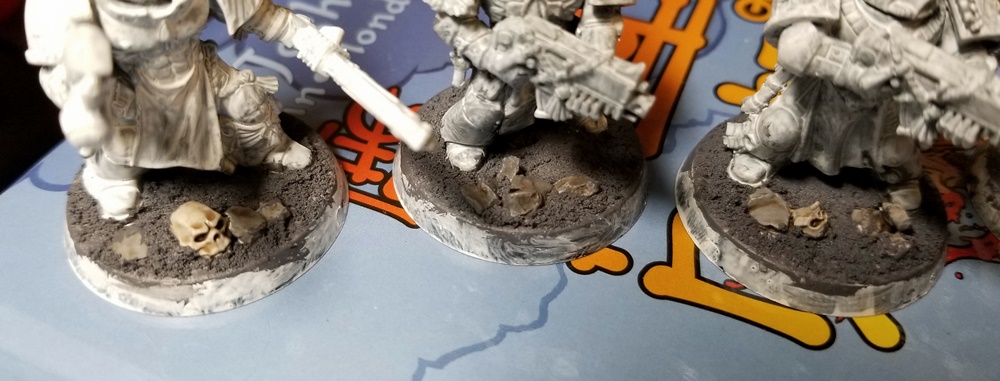
This paint also feels like cheating. It’s a bit like the magic that occurs when you apply a wash to a base-coated miniature — poof, it suddenly looks a million times better.
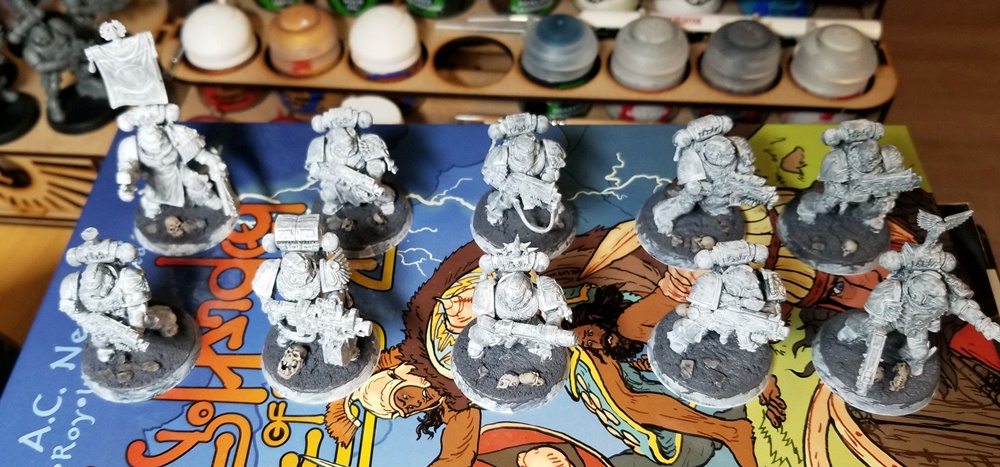
Even having not done the finishing steps yet (wash the texture paint > drybrush it and the rocks/skulls > possibly highlight the skulls > add tufts), these are already the best-looking bases I’ve ever done. Miles ahead of my past efforts with just glue and little rocks — and that’s 100% down to this paint. I love this stuff!
That’s probably it for tonight’s hobby session — but damn, this one felt good. As a proof of concept for my “plains of Armageddon” basing recipe, the rocks don’t stand out as much as I’d like — though I’m betting a nice light-colored drybrush will help — but otherwise I’m calling this concept proven. I can’t wait to see what it looks like after the whole process is complete!
